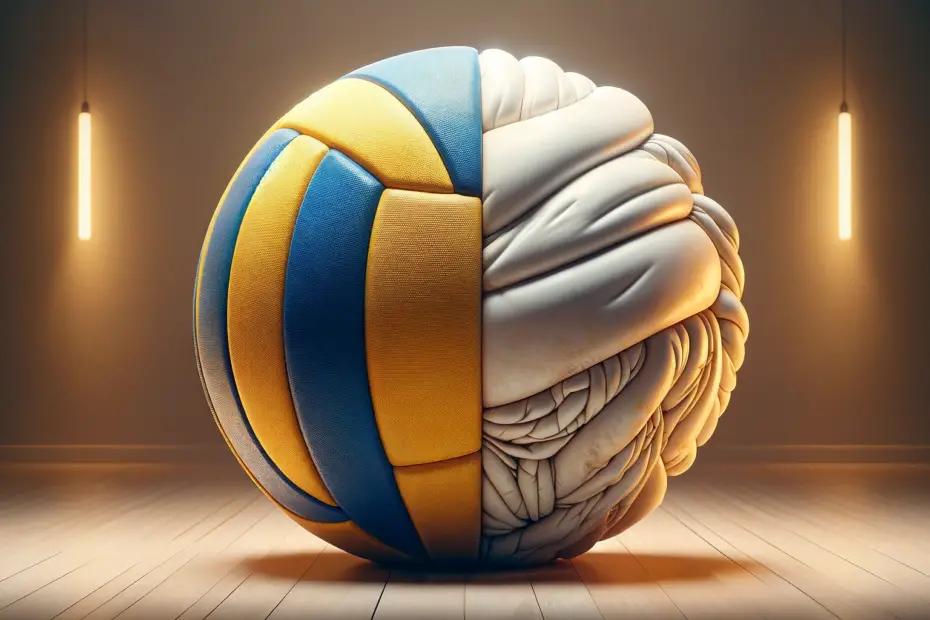
Steps to Inflate a Volleyball:
- Preparation: Ensure the needle is lubricated slightly with water or saliva. This prevents damage to the valve of the volleyball.
- Insertion: Carefully insert the needle into the valve of the volleyball. The valve is usually a small, circular opening located on the ball’s surface.
- Inflation: Begin pumping air into the volleyball. For a hand pump, this involves manually pushing and pulling the handle. If using an electric pump, it’s a matter of turning it on.
- Monitoring Pressure: As the ball inflates, periodically check its pressure. The ideal pressure for a volleyball is around 4.3 to 4.6 psi (pounds per square inch). This information is often printed on the ball.
- Final Check: Once the ball reaches the desired pressure, remove the needle carefully. It’s important not to overinflate as this can damage the ball.
How to inflate a volleyball without a pump
Alternative Methods for Inflating a Volleyball:
- Using a Straw or a Plastic Tube:
- Step 1: Find a thin straw or a flexible plastic tube that can fit into the valve of the volleyball.
- Step 2: Wet the end of the straw or tube slightly to create a seal and insert it into the volleyball’s valve.
- Step 3: Blow into the other end of the straw or tube to inflate the ball. This might take more time and effort compared to using a pump.
- Step 4: Once the ball feels firm, quickly remove the straw or tube and close the valve.
- Using a Balloon:
- Step 1: Inflate a balloon and pinch the end to keep the air inside.
- Step 2: Use a small nozzle or a cut straw to connect the balloon’s opening to the volleyball’s valve.
- Step 3: Squeeze the balloon to transfer the air into the volleyball.
- Step 4: Repeat the process as necessary until the volleyball is inflated to the desired firmness.
- Using a Bike or Car Tire Pump:
- If you don’t have a ball pump but have access to a bike or car tire pump, you can try using it. However, be extremely careful as these pumps are much more powerful and can easily overinflate and damage the ball.
- Use a needle valve adapter if available and proceed with caution.
- Using a Vacuum Cleaner with a Blow Function:
- Some vacuum cleaners have a reverse setting that blows air. You can use this feature to inflate the volleyball.
- Attach a narrow nozzle or a DIY tube to direct the airflow into the ball’s valve.
- Monitor the inflation closely to avoid overinflation.
Tips and Precautions:
- Pressure Check: Without a gauge, determining the right pressure can be tricky. Volleyballs are typically inflated to about 4.3 to 4.6 psi. A simple way to check is by pressing your fingers into the ball – it should give a little but not too much.
- Risk of Damage: These methods, particularly using a vacuum cleaner or a tire pump, carry a higher risk of overinflation and damage to the ball. Proceed with caution.
- Patience Required: Inflating a volleyball without a proper pump can be time-consuming and requires more effort.
- Sealing the Valve: Quickly sealing the valve after removing the inflation device is crucial to prevent air from escaping.
Inflating a volleyball with a pump is a straightforward process, but it’s important to do it correctly to avoid damaging the ball. Here are the detailed steps:
How to inflate a volleyball with a pump
Steps to Inflate a Volleyball with a Pump:
- Gather Your Equipment:
- Volleyball: Have the volleyball ready for inflation.
- Pump: You can use a hand pump or an electric air pump. Ensure it’s compatible with sports balls.
- Inflation Needle: This needle is attached to the pump and inserted into the volleyball. Sometimes the needle comes separately, so make sure you have one.
- Prepare the Needle:
- Lubrication: Slightly lubricate the needle with water or saliva. This helps to insert the needle smoothly into the ball’s valve without damaging it.
- Insert the Needle:
- Locate the Valve: Find the air valve on the volleyball. It’s a small, circular opening.
- Insertion: Gently insert the lubricated needle into the valve. Be careful not to force it, as this can damage the valve.
- Begin Inflation:
- Pumping: Start pumping air into the volleyball. If using a hand pump, this involves manually pushing and pulling the handle. With an electric pump, turn it on and monitor the inflation process.
- Pressure Check: Most volleyballs should be inflated to between 4.3 and 4.6 psi. This information is often printed on the ball.
- Monitor the Pressure:
- If you have a pressure gauge, use it to check the ball’s pressure. If not, you can gauge the firmness by pressing your palms against the ball. The ball should be firm but with a slight give.
- Finalize Inflation:
- Once the volleyball reaches the desired firmness or pressure, stop pumping.
- Carefully remove the needle from the ball’s valve. Do this slowly to prevent the valve from getting damaged or the air from escaping too rapidly.
- Check the Ball:
- Give the volleyball a few gentle bounces to ensure it feels right. Adjust the pressure if necessary by adding more air or releasing some.
Tips and Considerations:
- Avoid Overinflation: Overinflating the ball can damage its internal structure and affect its performance.
- Regular Maintenance: Regularly check and adjust the pressure, especially if the ball is used frequently or stored for long periods.
- Proper Storage: Store the volleyball in a cool, dry place away from direct sunlight to maintain its condition.
How to inflate a volleyball with a hand pump
Steps to Inflate a Volleyball with a Hand Pump:
- Prepare the Needle:
- Lubrication: Before using, lightly lubricate the needle with water or saliva. This helps the needle insert smoothly into the ball’s valve, reducing the risk of damaging the valve.
- Attach the Needle to the Pump:
- Screw or push the needle into the nozzle of the hand pump. Ensure it is secure to prevent air leakage during inflation.
- Insert the Needle into the Volleyball:
- Find the Valve: The valve is a small, circular opening on the volleyball.
- Insertion: Carefully insert the lubricated needle into the valve. Do it gently to avoid damaging the valve.
- Begin Inflating:
- Pumping Action: Start pumping air into the volleyball by moving the handle of the pump back and forth.
- Pressure Monitoring: Most volleyballs should be inflated to a pressure of 4.3 to 4.6 psi (pounds per square inch). This information is often printed on the ball itself.
- Check the Ball’s Firmness:
- If you don’t have a pressure gauge, you can gauge the firmness by pressing your palms against the ball. It should be firm but with a slight give.
- Remove the Needle:
- Once the ball reaches the desired firmness, carefully remove the needle from the ball’s valve. Do it slowly to avoid air escaping rapidly.
- Inspect the Ball:
- After inflation, give the ball a few gentle bounces to ensure it feels right. Adjust the pressure if needed by adding more air or releasing some.
How do you know if your volleyball has enough air?
Determining if your volleyball has the right amount of air is crucial for its performance and longevity. Here are several methods to check if a volleyball is properly inflated:
1. Pressure Gauge:
- Ideal Pressure: Volleyballs typically should be inflated to a pressure of about 4.3 to 4.6 psi (pounds per square inch).
- Using a Gauge: If you have a pressure gauge, simply attach it to the needle inserted in the ball’s valve to get an accurate measurement.
2. Manual Check (Palm Press Test):
- Firmness Test: Press your palms against opposite sides of the volleyball.
- Expected Give: The ball should give slightly under pressure. It should be firm but not hard. If the ball doesn’t compress slightly under pressure, it’s likely overinflated.
3. Bounce Test:
- Drop the Ball: Hold the volleyball at shoulder height and drop it.
- Bounce Height: A properly inflated volleyball should bounce back to about waist height. If it bounces higher, it may be overinflated; if it bounces lower, it’s likely underinflated.
Why won’t my volleyball inflate?
There are several reasons why your volleyball might not be inflating. The most common issue is a problem with the inflation needle or pump. If the needle is not properly inserted into the ball’s valve, or if it’s bent or damaged, air won’t be able to enter the ball.
Ensure the needle is straight and securely attached to the pump. Additionally, the pump itself might be malfunctioning or not creating enough pressure. Another possibility is a problem with the volleyball’s air valve. If the valve is damaged or blocked, air won’t flow into the ball correctly.
Sometimes valves can become clogged with dirt or debris, so cleaning the valve might help. Another potential issue could be a puncture or tear in the volleyball. Even a small hole can prevent the ball from inflating, as air will escape as quickly as it’s pumped in. Inspect the ball for any signs of damage. If you find a puncture, there are patch kits available for repairing sports balls.
Lastly, if the ball has been stored in a cold environment, the material might have stiffened, making it harder to inflate initially. Warming the ball to room temperature before attempting to inflate it again can be helpful. If none of these solutions work, the ball might have a defect or damage that’s not easily repairable, and it may be time to consider a replacement.


