Setting up your new Coleman SaluSpa inflatable hot tub should be an exciting experience, not a frustrating puzzle. Whether you’ve just unboxed your first inflatable spa or you’re dealing with setup challenges, this comprehensive guide will walk you through every step of the inflation process to get you soaking in relaxation as quickly as possible.
What You’ll Need Before Starting
Before diving into the inflation process, gather these essential items to ensure a smooth setup experience:
Required Equipment:
- Coleman SaluSpa unit with included pump
- Inflation hose (typically included)
- Valve adapter (if needed for your model)
- Access to a grounded electrical outlet
- Garden hose for filling
- Level ground surface
Optional but Helpful:
- Ground cloth or tarp for extra protection
- Extension cord (outdoor-rated)
- Digital thermometer
- Water test strips
Step 1: Choose the Perfect Location
Selecting the right spot is crucial for both safety and enjoyment. Choose a smooth, flat, and level surface that can support the weight of the hot tub, water, and users. Your ideal location should:
- Be within 10 feet of a GFCI-protected electrical outlet
- Have adequate drainage to prevent water pooling
- Be away from trees, bushes, or sharp objects
- Provide enough space for easy access and maintenance
- Be level within 2 inches across the entire area
Pro Tip: If the ambient temperature is below 50°F (10°C), keep the package indoors where the temperature is above 59°F (15°C) for at least 2 hours before inflation. This prevents damage to the PVC material and makes inflation easier.
Step 2: Prepare Your Coleman SaluSpa for Inflation
Once you’ve selected your location, follow these preparation steps:
- Unpack carefully – Remove all packaging materials and inspect the hot tub for any shipping damage
- Lay out the spa – Unfold the deflated hot tub completely on your chosen surface
- Check components – Verify that you have all included parts: pump, hoses, control panel, and filters
- Clean the area – Remove any debris, rocks, or sharp objects from underneath the spa
Step 3: Connect the Inflation System
The Coleman SaluSpa typically comes with a pump that also functions as an air blower for inflation, a water filtration system, and a heater. Here’s how to set it up:
Connecting the Pump
- Position the pump unit near your hot tub location, ensuring the power cord can reach your outlet
- Attach the inflation hose to the pump’s air outlet port
- Connect the valve adapter if your model requires one (check your manual)
- Locate the inflation valve on your SaluSpa – it’s typically marked with an air symbol
Making the Connection
- Open the inflation valve on the hot tub by turning it counterclockwise
- Connect the inflation hose securely to the valve
- Ensure all connections are tight to prevent air leaks during inflation
Step 4: Begin the Inflation Process
Now comes the exciting part – bringing your spa to life:
- Plug in the pump to your GFCI-protected outlet
- Turn on the pump using the power switch
- Monitor the inflation – the spa walls should begin rising immediately
- Check for even inflation – ensure all sections are expanding uniformly
Inflation Time: Most Coleman SaluSpa models take 10-20 minutes to fully inflate, depending on the size and ambient temperature.
What to Watch For
- Uneven inflation – Stop and reposition if one section isn’t inflating properly
- Air leaks – Listen for hissing sounds that indicate loose connections
- Over-inflation – Stop when the spa feels firm but still has slight give when pressed
Step 5: Check Inflation Pressure
Some models of the Coleman SaluSpa feature a pressure gauge on the pump. Monitor the air pressure and adjust it as needed to ensure that the hot tub reaches the recommended inflation level specified in the user manual.
Proper Inflation Indicators:
- Walls are firm but not rock-hard
- Floor feels solid underfoot
- No wrinkles or loose areas
- Slight give when pressed firmly
Step 6: Disconnect and Secure
Once your spa is properly inflated:
- Turn off the pump and unplug it from the outlet
- Disconnect the inflation hose from the spa valve
- Close the inflation valve by turning it clockwise until snug
- Check the valve cap – ensure it’s properly sealed to prevent air loss
Troubleshooting Common Inflation Issues
Problem: Spa Won’t Hold Air
Possible Causes:
- Loose valve connection
- Damaged valve or hose
- Puncture in the spa material
Solutions:
- Check all connections and retighten
- Inspect hoses for cracks or damage
- Apply soapy water to locate small leaks
Problem: Uneven Inflation
Possible Causes:
- Spa not positioned correctly
- Twisted or folded material
- Blocked air channels
Solutions:
- Deflate partially and reposition
- Smooth out any folds or twists
- Ensure spa is completely unfolded
Problem: Pump Not Working
Possible Causes:
- Power supply issues
- Faulty pump motor
- Clogged air filter
Solutions:
- Check electrical connections
- Test with different outlet
- Clean or replace air filter
Setting Up After Inflation
Once your Coleman SaluSpa is properly inflated, you’re ready for the next steps:
Install the Control Panel
- Mount the control panel according to your model’s instructions
- Connect all electrical components following the wiring diagram
- Test all functions before adding water
Prepare for Water Filling
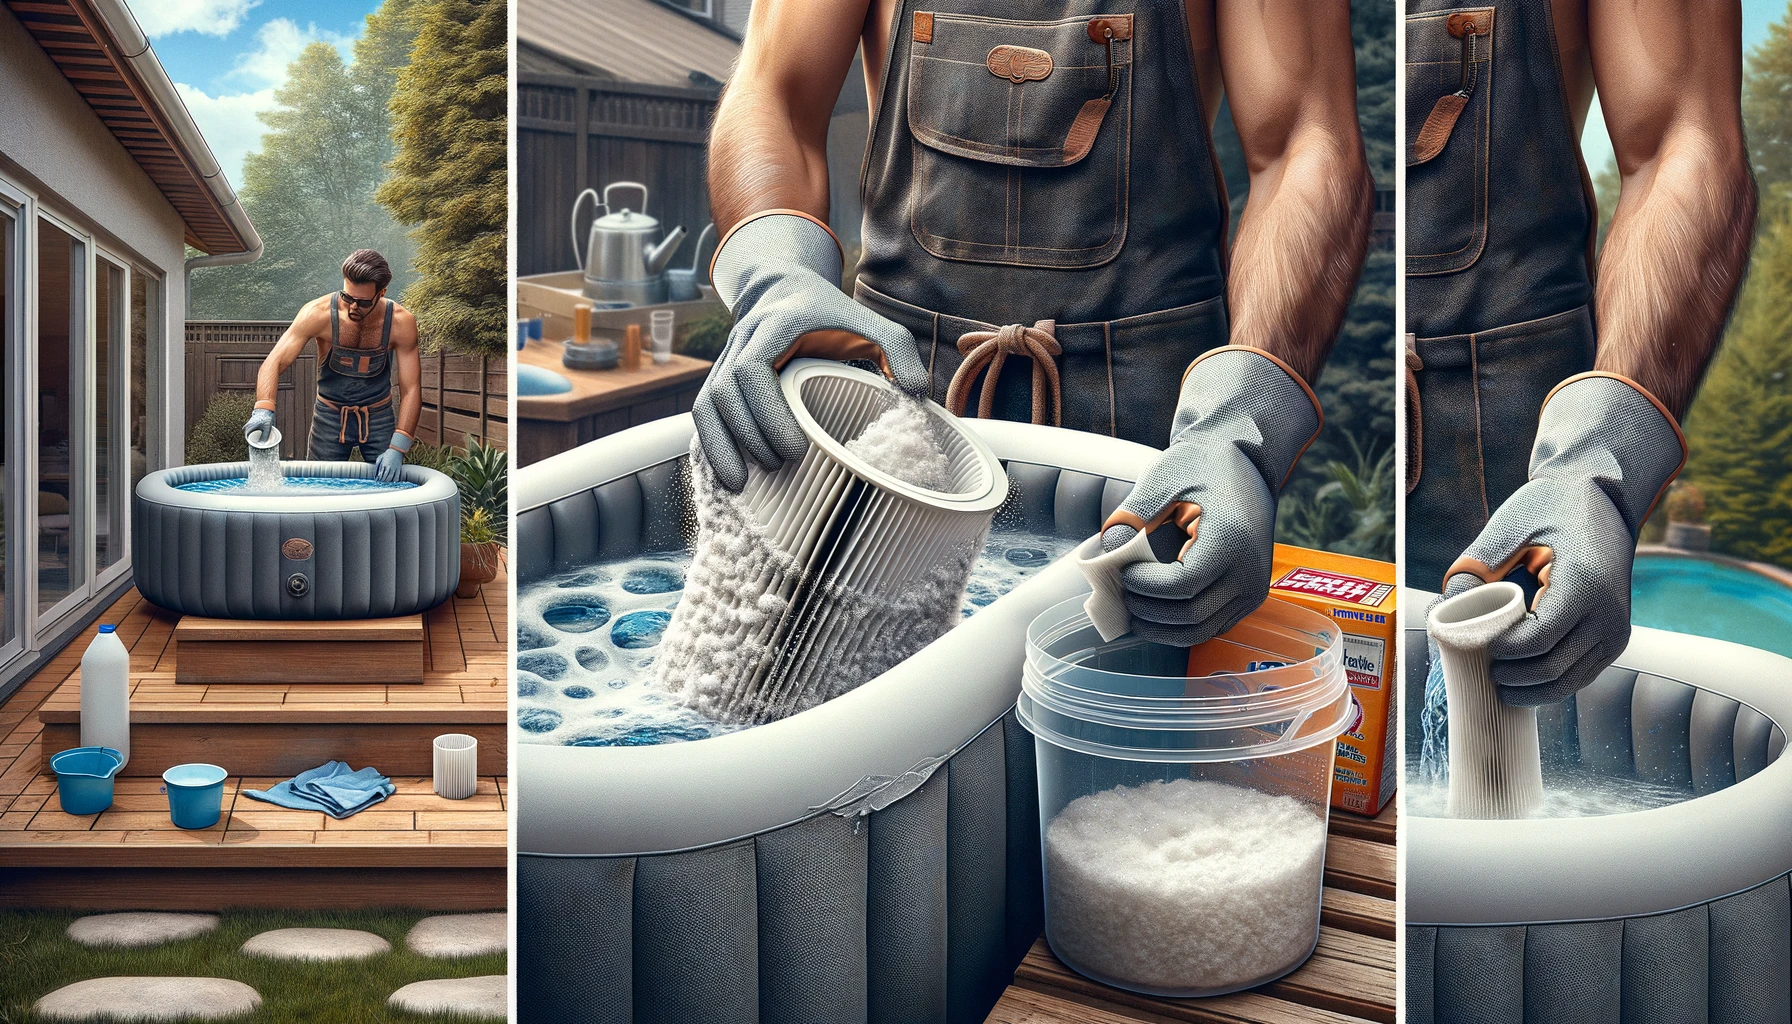
- Install the filter cartridge in the filtration system
- Connect the water inlet if your model has one
- Position the heater and circulation components
Maintenance Tips for Long-Term Success
To keep your Coleman SaluSpa in perfect condition:
Weekly Maintenance:
- Check air pressure and top off if needed
- Inspect for any signs of wear or damage
- Clean the exterior with mild soap
Monthly Maintenance:
- Deep clean all components
- Check and tighten all connections
- Inspect the pump and filtration system
Seasonal Maintenance:
- Proper winterization in cold climates
- UV protection for extended outdoor use
- Professional inspection if issues arise
Frequently Asked Questions
How long does it take to inflate a Coleman SaluSpa?
Most Coleman SaluSpa models inflate in 10-20 minutes, depending on size and temperature conditions.
Can I use a regular air pump to inflate my spa?
While possible, it’s recommended to use the included pump for optimal pressure and to avoid over-inflation.
What should I do if my spa loses air overnight?
Check all valve connections first, then inspect for small punctures using soapy water to locate bubbles.
Is it normal for the spa to feel soft in cold weather?
Yes, air contracts in cold temperatures. You may need to add air during colder months.
How often should I check the air pressure?
Check weekly during regular use, or before each use if the spa sits unused for extended periods.
Safety Considerations
Important Safety Reminders:
- Always use GFCI-protected electrical outlets
- Never inflate indoors with gas-powered equipment
- Keep the inflation area clear of children and pets
- Follow all manufacturer weight and capacity limits
Ready to Relax?
With your Coleman SaluSpa properly inflated and set up, you’re ready to transform your backyard into a personal oasis. The key to success is taking your time during setup and following each step carefully. Remember, proper inflation is the foundation of years of relaxing enjoyment.
Ready to take your spa experience to the next level? Consider investing in quality spa accessories like steps, covers, and water treatment systems to maximize your investment and ensure crystal-clear, inviting water every time you want to unwind.
Don’t let setup challenges keep you from the relaxation you deserve. Follow this guide, take your time, and soon you’ll be enjoying the therapeutic benefits of your very own Coleman SaluSpa hot tub.