Building a lighting stand for an inflatable paint booth using wood can be a cost-effective and customizable option. It allows you to create a sturdy structure that can support the weight of lighting equipment while providing adequate illumination for your painting projects. In this guide, we will walk you through the step-by-step process of building a lighting stand using wood materials. From gathering the necessary tools and materials to assembling and securing the components, we’ll provide you with detailed instructions to help you create a reliable and efficient lighting stand for your inflatable paint booth. Whether you’re a professional painter or a DIY enthusiast, this guide will enable you to enhance your workspace and improve your painting experience. So roll up your sleeves and get ready to build an excellent lighting stand for your inflatable paint booth using wood!
Essentials for Building a Lighting Stand
Materials and Tools Required
- PVC pipes or metal tubing: For the frame of the stand.
- PVC connectors or metal joints: To assemble the frame.
- Light fixtures: LED lights are preferred for their brightness and energy efficiency.
- Wiring and electrical components: Depending on the type of light fixtures used.
- Tools: Saw for cutting pipes, drill, screwdrivers, and wrenches.
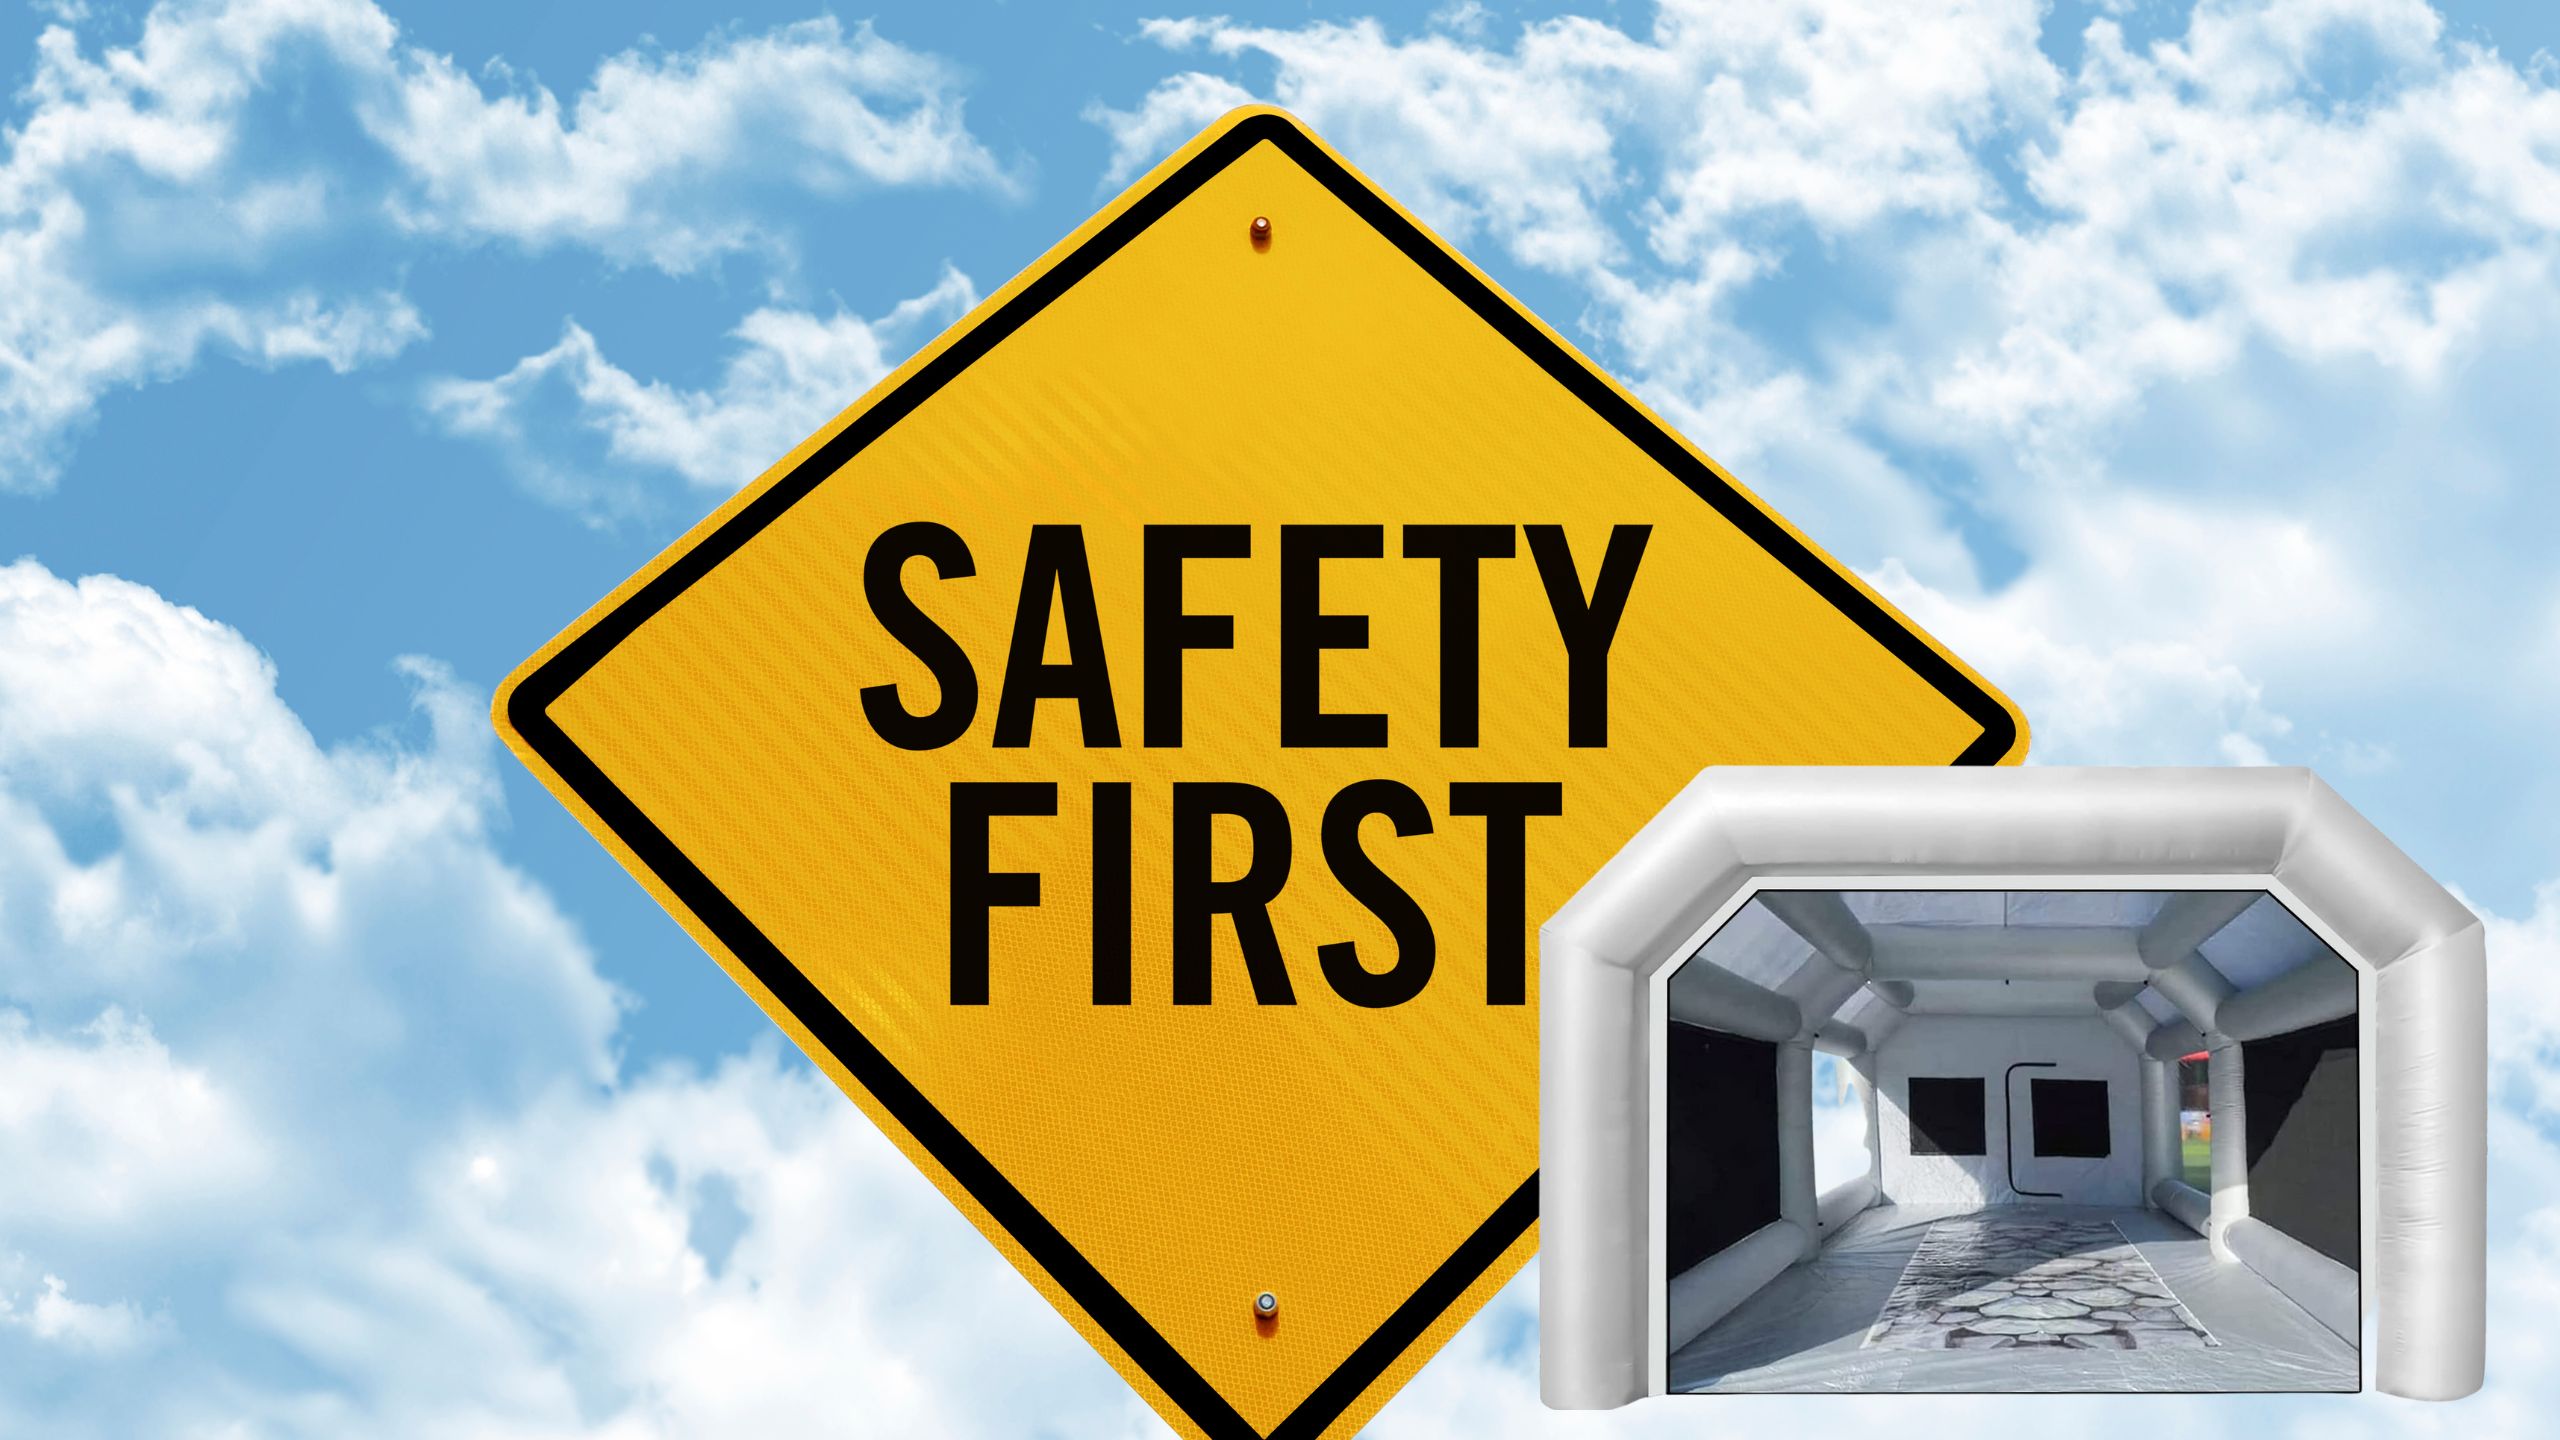
- Safety equipment: Gloves and goggles for protection.
Step-by-Step Guide
- Designing the Frame: Start by sketching the design of your lighting stand. Consider the size of your inflatable paint booth and the areas that require illumination. A typical design involves a rectangular frame that can stand independently or be suspended from the booth’s ceiling.
- Cutting and Assembling the Frame: Cut the PVC pipes or metal tubing to the desired lengths based on your design. Use connectors or joints to assemble these pieces into the frame. Ensure the frame is sturdy and stable.
- Installing the Light Fixtures: Attach the light fixtures evenly across the frame. LED lights are recommended for their bright, consistent light and low heat emission. Make sure the fixtures are securely fastened and the wiring is safely routed.
- Electrical Setup: Wire the lights to a power source. If you are not experienced with electrical work, it is advisable to seek assistance from a qualified electrician. Ensure all connections are insulated and conform to safety standards.
- Testing: Before using the stand in your inflatable paint booth, test the lights to ensure they work correctly and provide adequate illumination.
- Installation: Place or suspend the lighting stand in your inflatable paint booth. Adjust the position as needed to achieve optimal lighting conditions.
Safety Considerations and Maintenance
- Electrical Safety: Always prioritize electrical safety. Ensure all wiring is done correctly and avoid overloading circuits.
- Regular Checks: Regularly inspect the lighting stand for any damage or loose connections.
- Cleaning: Keep the lights clean for maximum efficiency. Dust and paint can accumulate on the fixtures, reducing their effectiveness.
Enhancing the Paint Booth Experience
The addition of a well-constructed lighting stand in an inflatable paint booth can markedly improve the painting experience. Adequate lighting aids in achieving a high-quality finish and can increase productivity by reducing the need for rework due to unnoticed imperfections.
Final Thoughts
Building a lighting stand for an inflatable paint booth is a practical project that can bring significant benefits. With the right tools, materials, and a bit of know-how, you can create a lighting solution that enhances your painting projects. Always prioritize safety and consult professionals when necessary, especially regarding electrical installations. This DIY project not only improves the functionality of your paint booth but also adds to the satisfaction of completing a well-lit, professional-quality paint job.