Ensuring proper drying and curing in inflatable paint booths is critical for achieving high-quality painting results. Here are key steps and considerations to ensure optimal drying and curing:
1. Temperature Control
- Heating Methods: Use heaters like electric, propane, infrared, or portable radiant heaters to maintain a consistent and optimal temperature.
- Insulation: Insulating the booth with materials like thermal blankets helps retain heat and minimize energy loss.
- Temperature Monitoring: Employ digital thermometers or sensors to accurately monitor and adjust the booth’s temperature.
2. Humidity Management
- Balancing Humidity: Both high and low humidity levels can affect drying times and lead to defects. Use dehumidifiers or humidifiers as necessary to maintain a balanced humidity level.
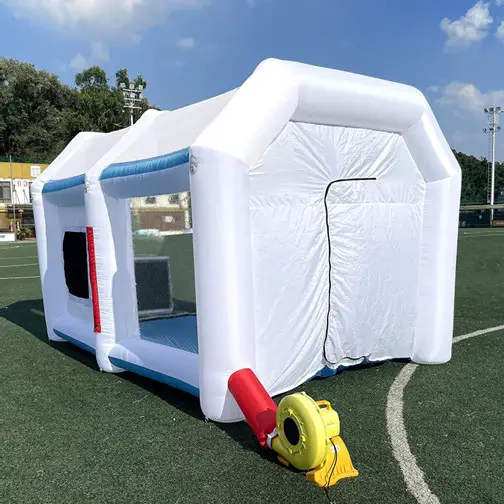
3. Airflow and Ventilation
- Ventilation Systems: Implement effective ventilation systems to provide optimal airflow, essential for even drying and removal of harmful fumes.
- Air Circulation: Consider using fans or air circulators to distribute heat evenly, especially in larger booths.
4. Drying Systems
For booths used with waterborne paints, specialized drying systems can be extremely beneficial. These systems increase airflow and reduce drying times by pushing air through jet blowers and paint booth fans. They are designed to dry the paint evenly and at optimal temperatures, thereby reducing the chances of bubbles, streaks, or runny paint
- Specialized Systems: For waterborne paints, drying systems that increase airflow can reduce drying times significantly without compromising the finish quality.
5. Cleanliness and Surface Preparation
- Surface Cleaning: Ensure that the surfaces within the booth are clean before starting the drying and curing process to avoid contamination.
- Inspections: Conduct regular inspections to identify and address any imperfections or defects during the drying and curing stages.
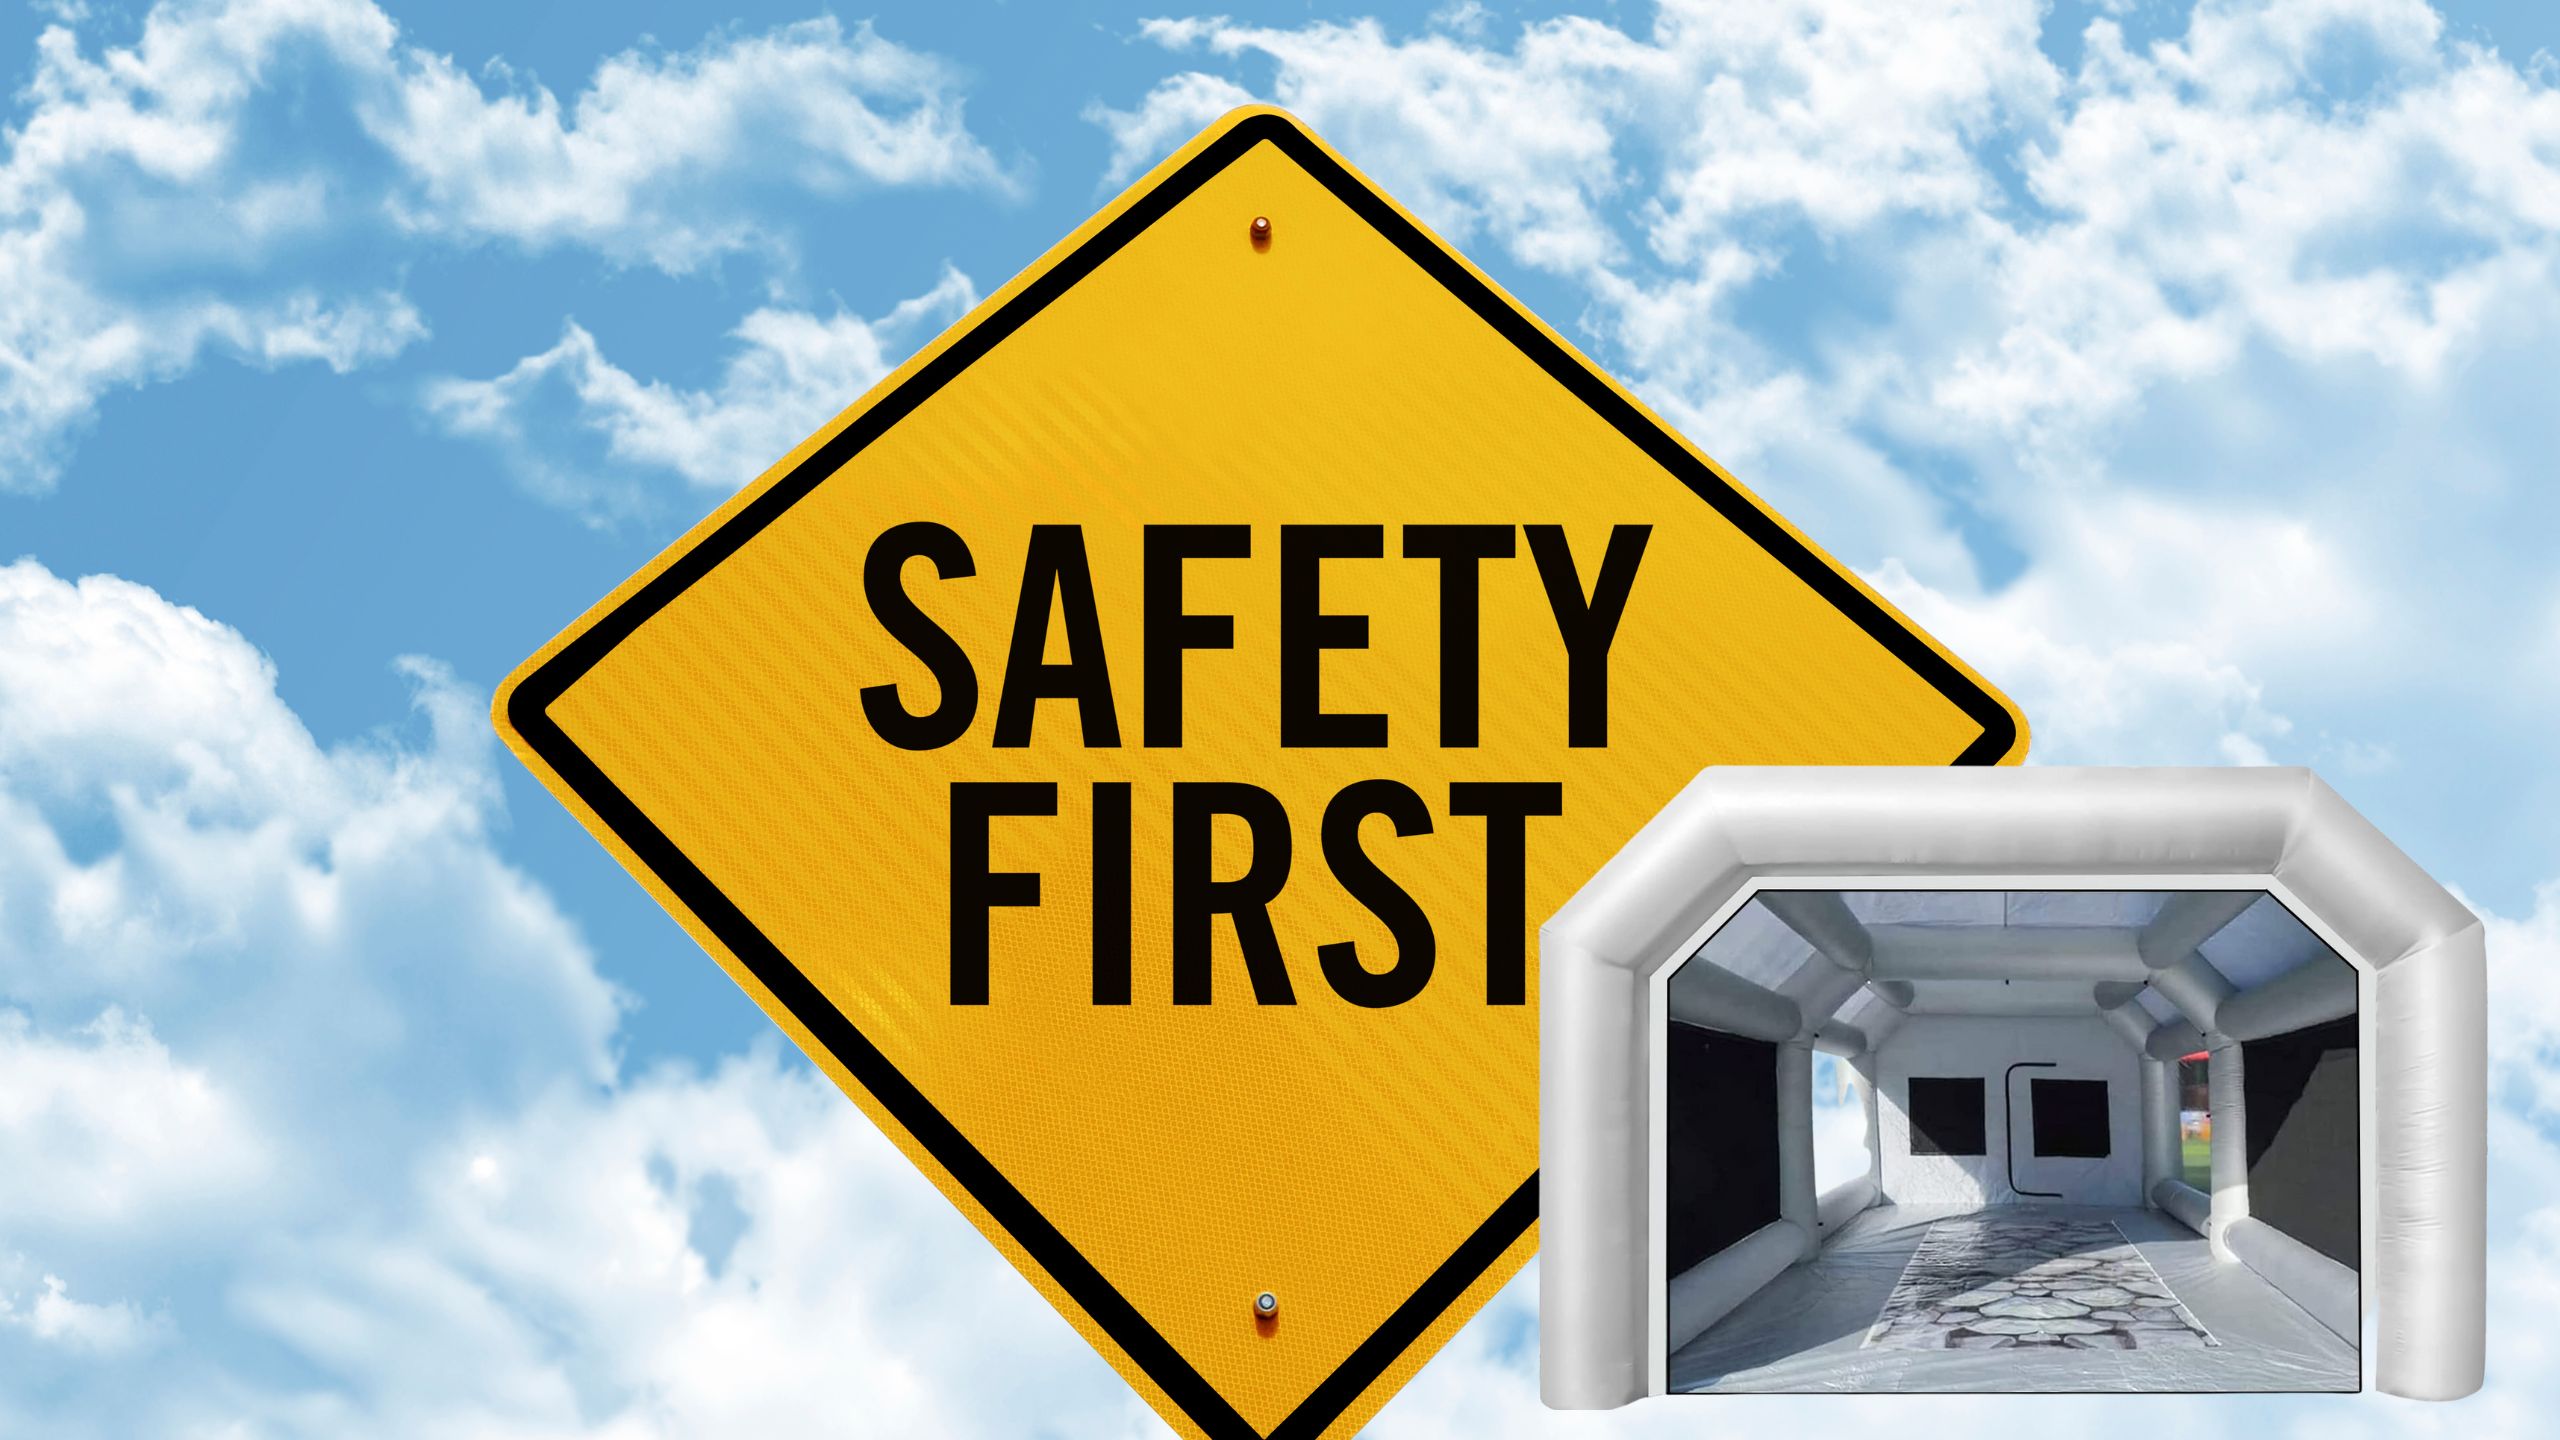
6. Safety Considerations
When using heaters in an inflatable paint booth, it’s important to follow safety guidelines to prevent any hazards. This includes ensuring proper ventilation to prevent the accumulation of fumes or gases and regularly inspecting the booth and heating equipment for signs of damage or malfunction.
- Follow Safety Guidelines: Adhere to manufacturer’s instructions for heater usage, ensure proper ventilation, and regularly inspect the booth and heating equipment.
- Fire Safety: Have fire extinguishing equipment readily available and follow fire safety protocols.
By carefully managing these aspects, you can optimize the drying and curing process in an inflatable paint booth, ensuring high-quality results and a safe working environment.
7. Understanding Paint Properties
- Material-Specific Guidelines: Be aware that different coatings (like polyurethane or epoxy paints) have varying drying and curing times, which can be affected by environmental conditions.
8. Utilizing Technology
- Monitoring Devices: Use devices like thermocouples or infrared sensors for feedback during the drying process, allowing for a balance between accelerating the process and preventing damage.
9. Customizing the Approach
- Method Selection: Depending on the material and desired finish, select the most appropriate drying and curing method, which could be air drying, UV curing, or thermal curing.
10. Troubleshooting Common Issues
- Addressing Defects: Be vigilant about common painting issues like blistering and the ‘Orange Peel’ effect, which can be mitigated through proper preparation and environmental control.
Each of these steps plays a crucial role in the overall effectiveness of drying and curing processes in inflatable paint booths. By meticulously managing these aspects, you can achieve high-quality painting results while ensuring safety and efficiency.