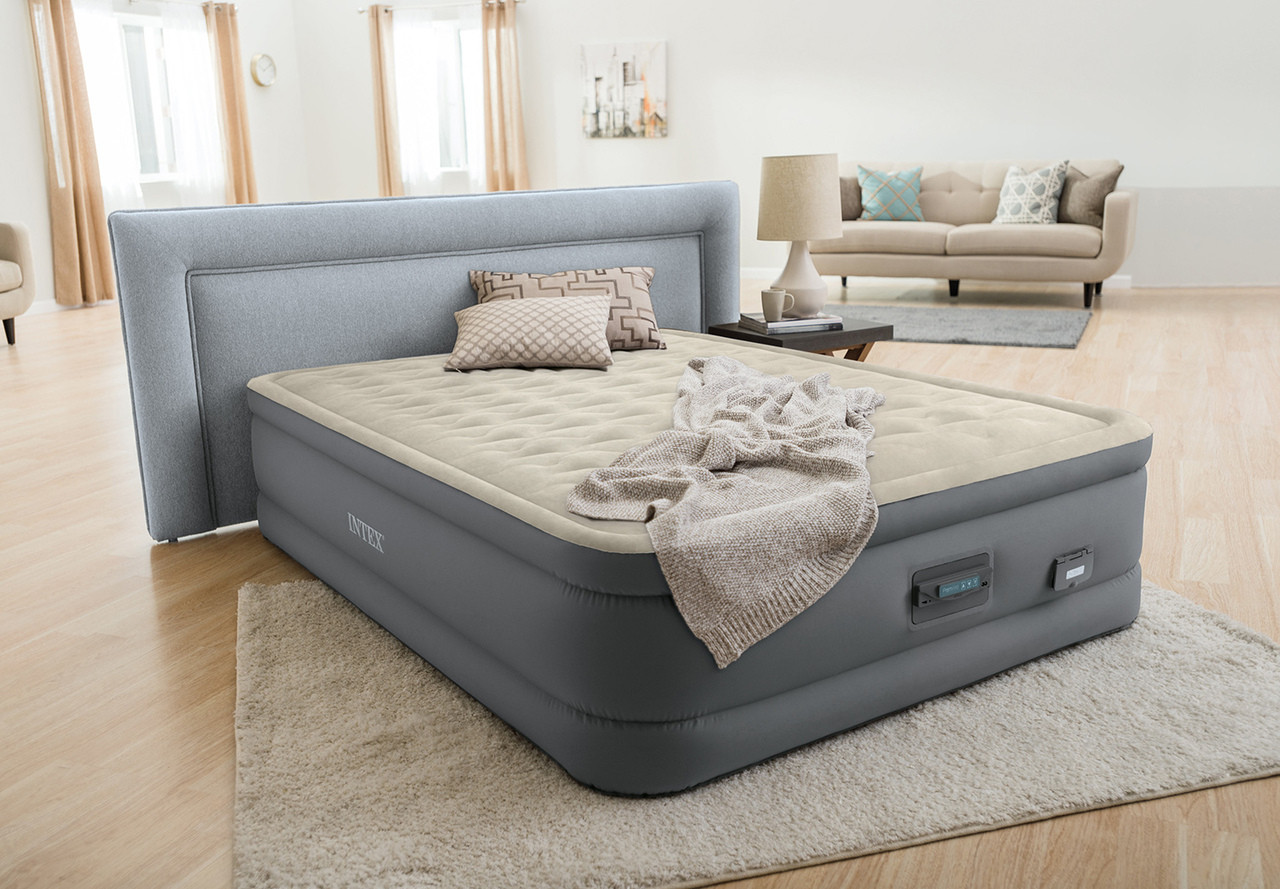
An inflatable bed can be a convenient and comfortable solution for accommodating guests or for use during camping trips. However, they are prone to leaks, which can turn a good night’s sleep into an uncomfortable experience. Finding and fixing a leak in an inflatable bed can seem daunting, but it’s actually a straightforward process. This guide will walk you through the steps to efficiently locate a leak and ensure your inflatable bed is as good as new.
Step 1: Inflate the Bed Fully
Before you start looking for the leak, it’s important to fully inflate the bed. A fully inflated bed makes the leak more apparent, as the escaping air creates a stronger signal, whether it’s a hissing sound or a visible bulge.
Step 2: Listen for the Leak
The simplest way to find a leak is by listening. Move around the bed slowly and listen for a hissing sound. It’s often easier to hear the leak in a quiet room, so try to minimize background noise. Focus on areas where leaks are common, such as seams and valves.
Step 3: Feel for the Leak
If you can’t hear the leak, you can try feeling for it. Run your hand slowly over the surface of the bed, especially near seams, valves, and any patches. You might feel a stream of air escaping from a small hole.
Step 4: Use the Soapy Water Method
For a more thorough approach, use the soapy water method:
- Prepare Soapy Water: Mix a small amount of dish soap with water in a spray bottle.
- Spray the Bed: Lightly spray the bed’s surface, starting with seams and folds, as they are the most common leak locations.
- Look for Bubbles: Watch for bubbles forming on the bed’s surface. Escaping air will cause the soapy water to bubble, indicating the location of the leak.
- Mark the Spot: Once you find the leak, dry the area and mark it with a piece of tape or a marker.
Step 5: Check the Valve
A common location for leaks is the valve. Ensure it’s tightly closed. Sometimes, debris or damage to the valve can cause air to escape. Clean the valve area and inspect it for any signs of damage.
Step 6: Submerge in Water
If the leak is still elusive, you can try submerging parts of the bed in water:
- Use a Tub or Pool: Partially submerge the bed in a tub or pool.
- Look for Air Bubbles: As with the soapy water method, look for bubbles that indicate where air is escaping.
- Be Cautious: This method is more involved and might not be suitable for larger beds or without proper facilities.
Step 7: Patch the Leak
Once you’ve found the leak:
- Deflate the Bed: Deflate the bed completely before attempting to patch it.
- Clean the Area: Clean the area around the leak to ensure the patch adheres properly.
- Apply the Patch: Follow the instructions on your repair kit to patch the leak. Most kits involve applying an adhesive and a patch material.
- Allow It to Dry: Give the patch ample time to dry before reinflating the bed.
Conclusion
Finding a leak in an inflatable bed might require a bit of patience, but it’s usually a simple fix. By following these steps, you can locate and repair most leaks, extending the life of your inflatable bed. Regular checks and careful handling can also prevent future leaks, ensuring a comfortable and hassle-free experience for your guests or during your outdoor adventures.
Pro Tip
To prevent future leaks, store your inflatable bed properly. Keep it away from sharp objects, extreme temperatures, and ensure it’s clean and dry before storing. Regular maintenance can significantly reduce the likelihood of leaks and ensure your inflatable bed is always ready for use.
FAQs: Finding and Fixing Leaks in Inflatable Beds
Why is my air mattress deflating but no holes
If your air mattress is deflating but you can’t find any holes, there are several potential reasons to consider:
- Temperature Changes: Air mattresses are sensitive to temperature fluctuations. Cold air causes contraction, so if the air inside the mattress gets cooler (e.g., at night), it can lead to noticeable deflation without any leaks.
- The Valve: Sometimes, the issue might be with the valve or the valve seal. If it’s not properly closed, slightly damaged, or worn out, air can slowly escape. Ensure the valve is securely closed and inspect it for any signs of damage or wear.
- Overloading or Stress: Overloading the mattress beyond its weight capacity, or frequent use, can stretch the material, creating a sensation of deflation even though there are no holes.
- Material Stretching: When new, air mattresses tend to stretch a bit after being inflated for the first few times. This stretching can be mistaken for deflating. Re-inflating the mattress a few times might solve the issue.
- Small Pores or Manufacturing Defects: There might be micro-pores or manufacturing defects that are not easily noticeable. These tiny pores can slowly let out air, especially under the weight of a person.
- Seam Leaks: Sometimes, leaks occur along the seams where they are harder to detect. These types of leaks can be very slow and hard to find.
- Improper Storage: If the mattress has been stored improperly or in a place with potential for unnoticed damage (like a garage or a basement), it might have developed micro-tears or weakened areas that are not immediately visible.
What is the easiest way to locate a small leak in an inflatable bed?
The easiest way to locate a small leak is to fully inflate the bed and then listen closely for a hissing sound. You can also feel along the surface of the bed for escaping air. The soapy water method, where you apply soapy water to the bed and look for bubbles, is also effective.
Can I use any kind of soap for the soapy water method?
Yes, most liquid soaps, such as dishwashing liquid, will work for the soapy water method. Mix it with water in a spray bottle for easy application.
How do I check the valve for leaks?
To check the valve for leaks, ensure it’s tightly closed and inspect it for any signs of damage. You can also apply soapy water around the valve area; if bubbles form, there may be a leak.
Is it safe to submerge the entire inflatable bed in water to find a leak?
Submerging the entire bed is not typically recommended due to its size and the difficulty in drying it completely afterward. Instead, submerge small sections in a tub or use the soapy water method.
What should I use to patch a leak in an inflatable bed?
Use a patch kit specifically designed for inflatable beds. These kits usually include a patch and a special adhesive. Follow the manufacturer’s instructions for the best results.
How long should I wait after patching a leak before reinflating the bed?
Wait at least a few hours, or as long as the patch kit instructions specify, to ensure the adhesive has completely dried and set.
Can I use an inflatable bed patch kit for any type of air mattress material?
Most patch kits are versatile enough to be used on various types of air mattress materials, but it’s best to check the kit’s compatibility with your specific bed material.
Are there any preventative measures to avoid leaks in inflatable beds?
To prevent leaks, avoid over-inflating the bed, keep it away from sharp objects, and store it properly when not in use. Regularly check for and tighten any loose valves.
Is it possible to repair a leak near the seam of the inflatable bed?
Repairing a leak near the seam can be challenging, but it’s possible with a specialized patch kit and careful application. Be aware that these repairs may not always be as long-lasting due to the stress on the seams.
By understanding these FAQs, you can more effectively manage and maintain your inflatable bed, ensuring it remains a reliable and comfortable option for your sleeping arrangements.