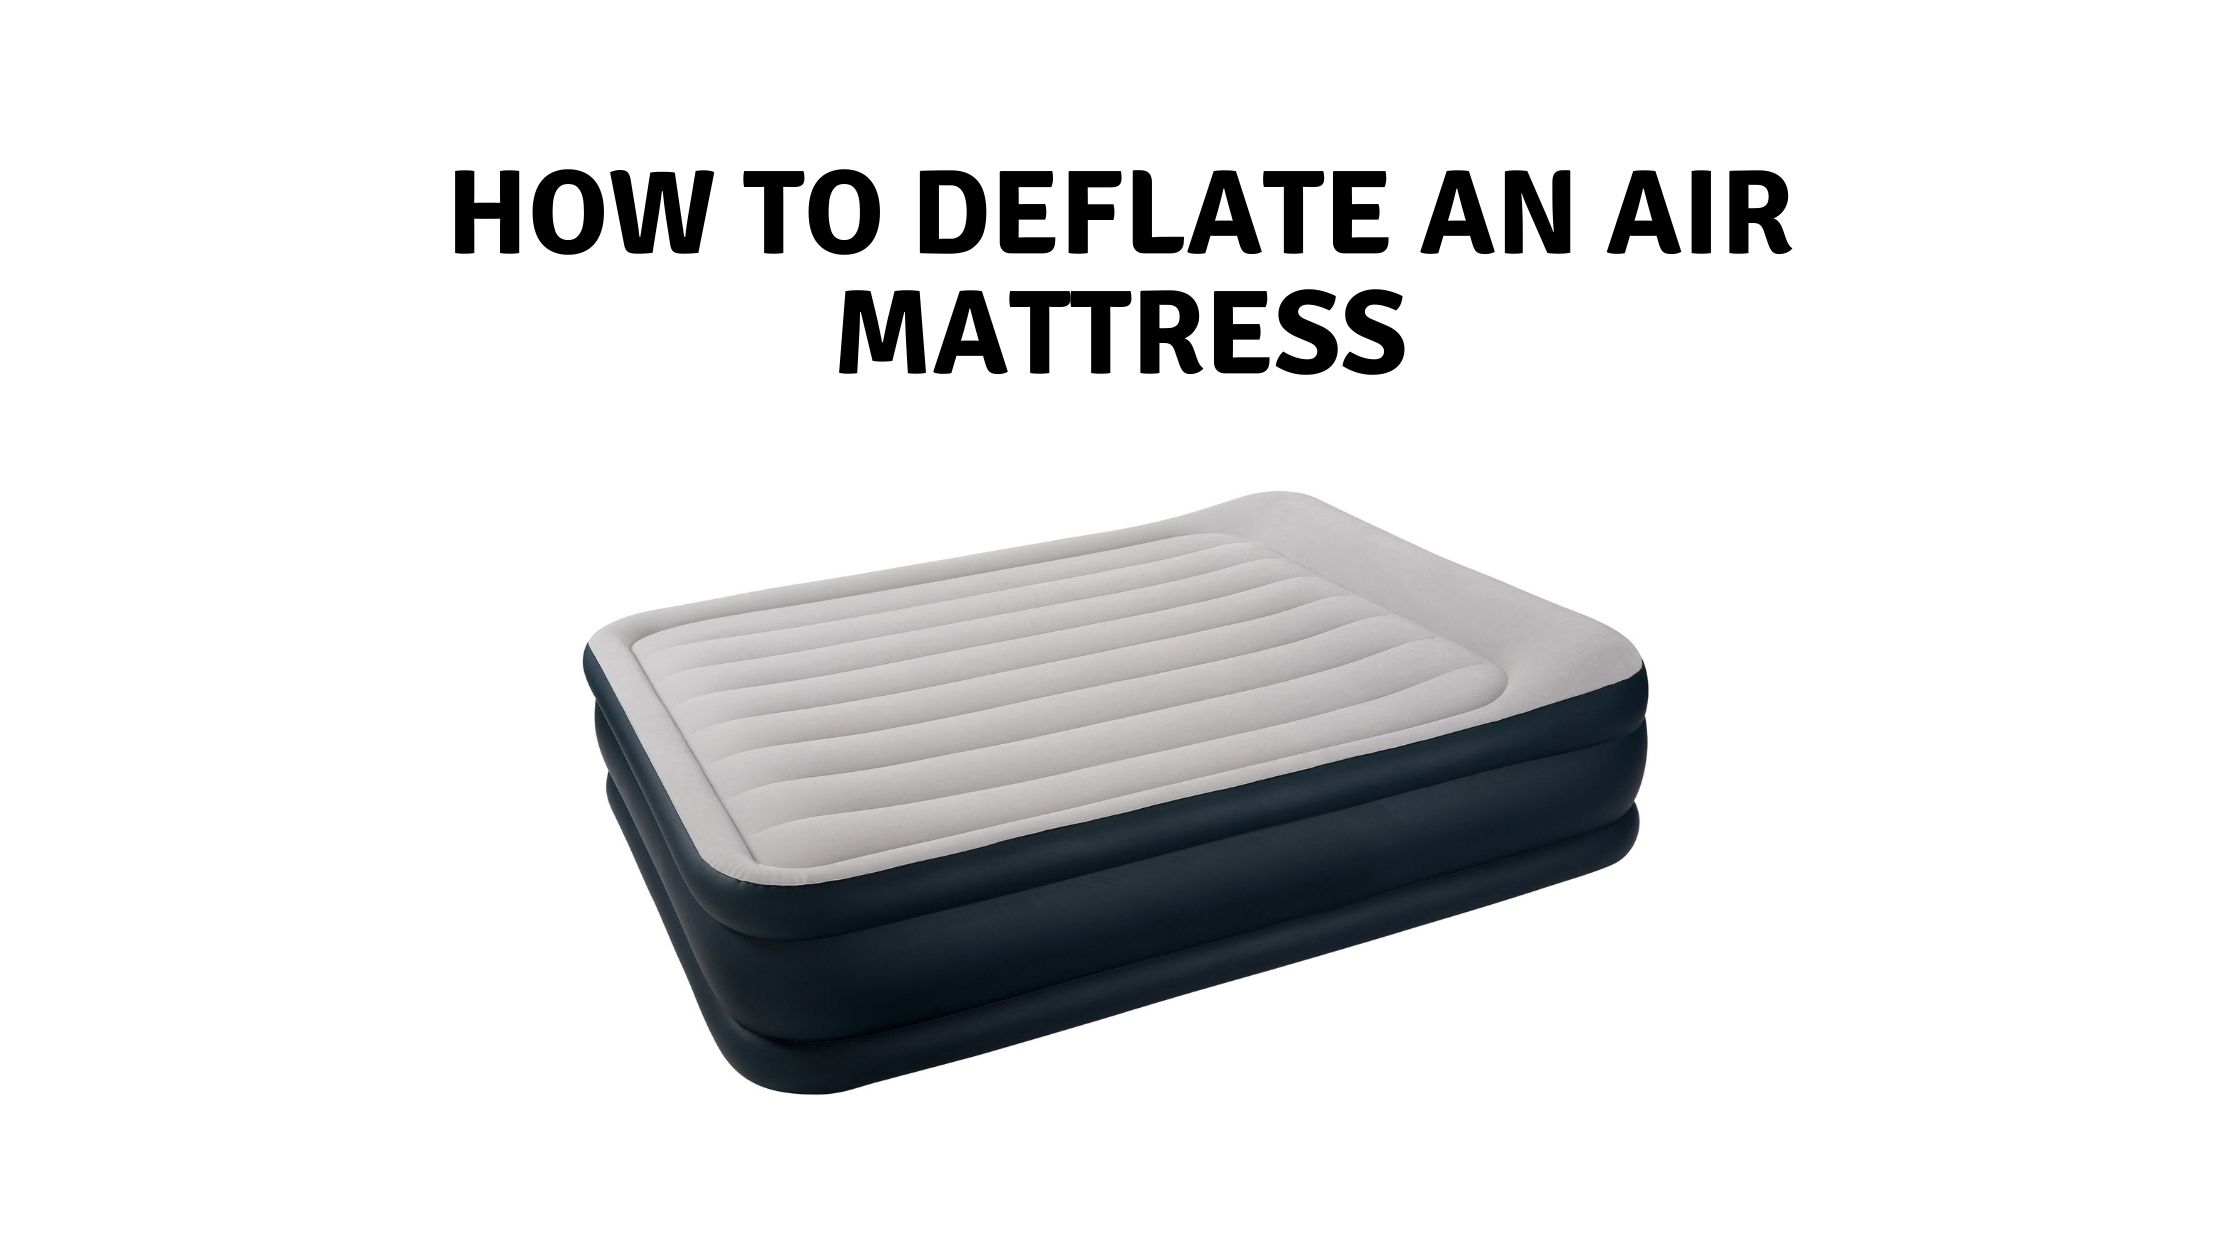
Air mattresses are a popular choice for camping, guest bedding, and temporary sleeping solutions due to their convenience and comfort. However, they can be susceptible to leaks, particularly along seams, which are the most challenging areas to repair. A hole in the seam of an air mattress can significantly diminish its functionality, but it’s not necessarily the end of its usefulness. This comprehensive guide will take you through the steps of effectively fixing a hole in an air mattress seam.
Understanding the Challenge of Seam Leaks
Seam leaks in air mattresses are more complex to repair than holes on the flat surfaces. The seams are raised and under constant tension, which can cause repairs to fail under the pressure of inflation. Thus, fixing a seam leak requires precision and careful handling.
Tools and Materials Needed
- Patch kit designed for air mattresses (preferably) or a DIY patch
- Adhesive suitable for vinyl (if not included in the patch kit)
- Rubbing alcohol
- Clean cloth or sponge
- Fine-grit sandpaper
- Marker (optional)
Step-by-Step Repair Process
1. Locate the Leak:
- Inflate the mattress and listen for escaping air.
- Use soapy water to identify the exact location of the leak, which will bubble at the site of the hole.
2. Prepare the Surface:
- Deflate the mattress completely.
- Clean the area around the hole with rubbing alcohol and a cloth to remove any dirt or grease. This step is crucial for ensuring the patch adheres properly.
3. Roughen the Surface:
- Lightly sand the area around the leak with fine-grit sandpaper. This roughens the surface, allowing the adhesive to bond more effectively.
4. Cut the Patch:
- If you’re using a patch kit, cut a patch that is large enough to cover the hole and extend at least half an inch around it. For seam repairs, a rectangular or oval patch is more effective than a circular one.
- If you’re creating a DIY patch, use a material like a shower curtain or pool liner.
5. Apply the Adhesive:
- If the adhesive is not pre-applied to your patch, spread a thin, even layer of vinyl adhesive over the patch, extending slightly beyond its edges.
6. Position the Patch:
- Carefully place the patch over the hole, ensuring it fully adheres to the seam.
- Press down firmly, starting from the center of the patch and working towards the edges to remove any air bubbles.
7. Allow to Dry:
- Let the adhesive cure as per the instructions, typically 12-24 hours.
8. Test the Repair:
- Once the patch is dry, inflate the mattress and check for leaks.
Tips for a Successful Repair
- Patience is Key: Rushing the process can lead to a failed repair. Allow plenty of time for each step, especially the drying/curing time.
- Apply Pressure: Use a heavy object to apply pressure on the patch as it dries for a stronger bond.
- Avoid Over-Inflation: After the repair, avoid over-inflating the mattress, as this could stress the seams and the new patch.
Conclusion
Repairing a hole in the seam of an air mattress can be a bit tricky, but it’s certainly doable with the right approach and materials. By following these steps, you can extend the life of your air mattress and continue to enjoy its convenience. Remember, regular maintenance and careful use can significantly reduce the risk of seam leaks.


