Air mattresses are a convenient and comfortable solution for temporary sleeping arrangements. However, they are prone to punctures and leaks, which can deflate your plans as quickly as your mattress. If you find yourself with a punctured air mattress and no patch kit on hand, fear not. There are several effective methods to repair it. This comprehensive guide will walk you through the steps to fix a hole in an air mattress without a patch kit, ensuring a good night’s sleep is still within reach.
Identifying the Leak
Before you can fix the leak, you need to locate it. Inflate your mattress fully and listen for the sound of escaping air. If the hole is not immediately apparent, you can run your hand over the surface of the mattress to feel for air. For smaller leaks, mix a bit of dish soap with water and apply it to the mattress. Bubbles will form at the leak site.
Method 1: Using Adhesive Tape
Materials Needed:
- Duct tape or any strong adhesive tape
- Scissors
- Rubbing alcohol
- Cloth
Steps:
- Clean the Area: Wipe the area around the hole with rubbing alcohol and a cloth to ensure it is free from dirt and oils.
- Cut the Tape: Cut a piece of duct tape large enough to cover the hole and overlap it by at least an inch on all sides.
- Apply the Tape: Firmly press the tape over the hole, smoothing out any bubbles or wrinkles.
- Reinforce if Needed: For added durability, apply a second layer of tape.
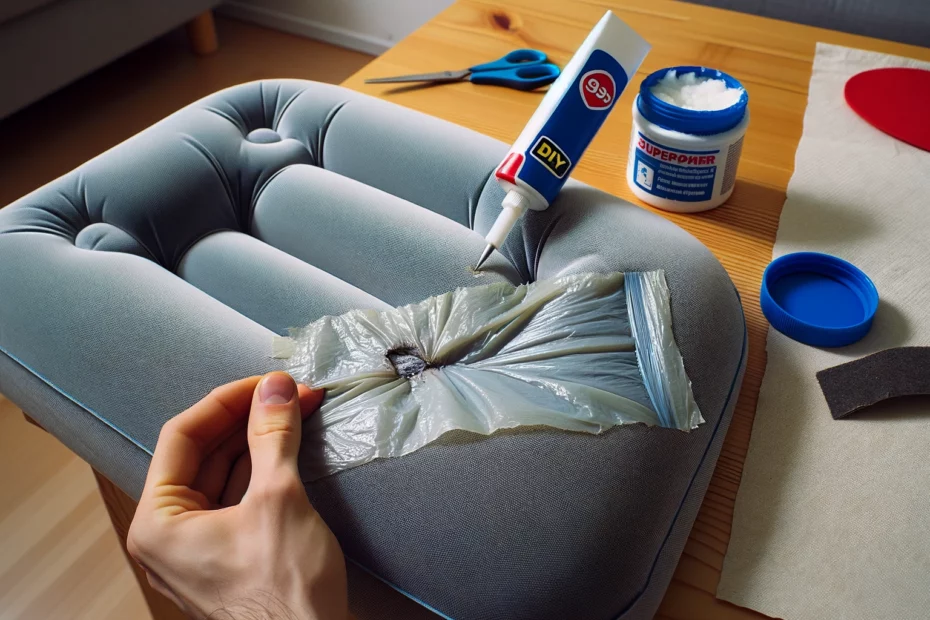
Method 2: Using a DIY Patch
Materials Needed:
- Plastic material (like a shower curtain or plastic bag)
- Scissors
- Super glue or rubber cement
- Sandpaper or a rough sponge
Steps:
- Prepare the Surface: Roughen the area around the hole with sandpaper or a rough sponge.
- Cut the Plastic: Cut a small patch from your plastic material, ensuring it is large enough to cover the hole with at least an inch overlap.
- Apply the Adhesive: Apply a thin layer of super glue or rubber cement to one side of the plastic patch.
- Seal the Hole: Carefully place the patch over the hole and press down firmly. Allow it to dry according to the adhesive’s instructions.
Method 3: Using Hot Glue
Materials Needed:
- Hot glue gun
- Rubbing alcohol
- Cloth
Steps:
- Clean the Area: Use rubbing alcohol and a cloth to clean around the hole.
- Apply Hot Glue: Heat up your glue gun and apply a generous amount of glue over the hole.
- Let it Dry: Allow the glue to cool and harden completely before inflating the mattress.
Post-Repair Tips
- Test the Repair: Inflate the mattress and check the repair site for leaks.
- Avoid Over-Inflation: Over-inflating the mattress can put extra pressure on the repair, increasing the risk of reopening the hole.
- Regular Checks: Periodically inspect the repair to ensure it’s holding up.
Conclusion
While a patch kit is ideal for repairing an air mattress, these DIY solutions can be just as effective in a pinch. Remember, the key to a successful repair lies in thoroughly cleaning the area and allowing enough time for the adhesive to set. With a bit of patience and creativity, you can extend the life of your air mattress and continue to enjoy its convenience and comfort.