SimpleInflatables – The Inflatables for All Occasions!
SimpleInflatables, a leading company in the inflatable market, excels in offering a wide array of products and services. Established 4 years ago, we’re known for our diverse range: from professional inflatable paint booths to festive Halloween and Christmas decorations. Simpleinflatables selection includes water inflatables like hot tubs, boats, kayaks, and pools for aquatic fun. For the young and young-at-heart, we offer bouncy fun with our bounce houses, castles, and water parks. Our product line also features comfortable inflatable furniture and air mattresses for home and leisure, alongside playful inflatable costumes for parties and events. Dive into our world for quality and enjoyment!
If you’re looking for information on a specific inflatable, feel free to use our search bar to narrow down your results.
Otherwise, browse through our latest reviews and articles to find what you’re looking for.

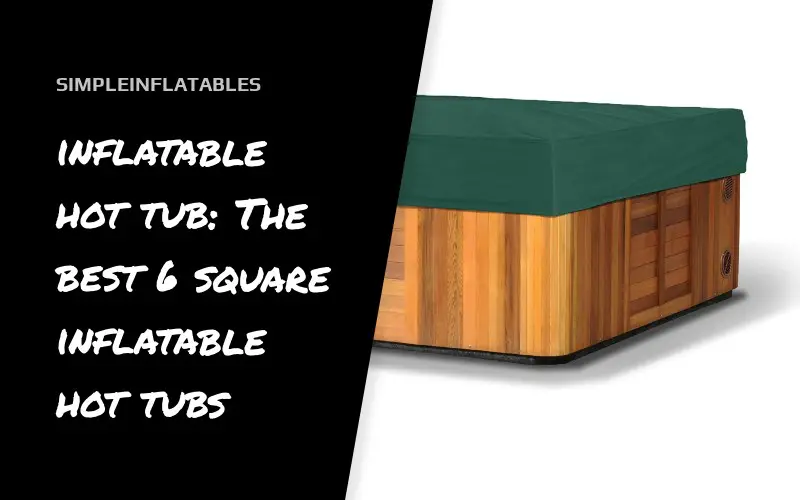
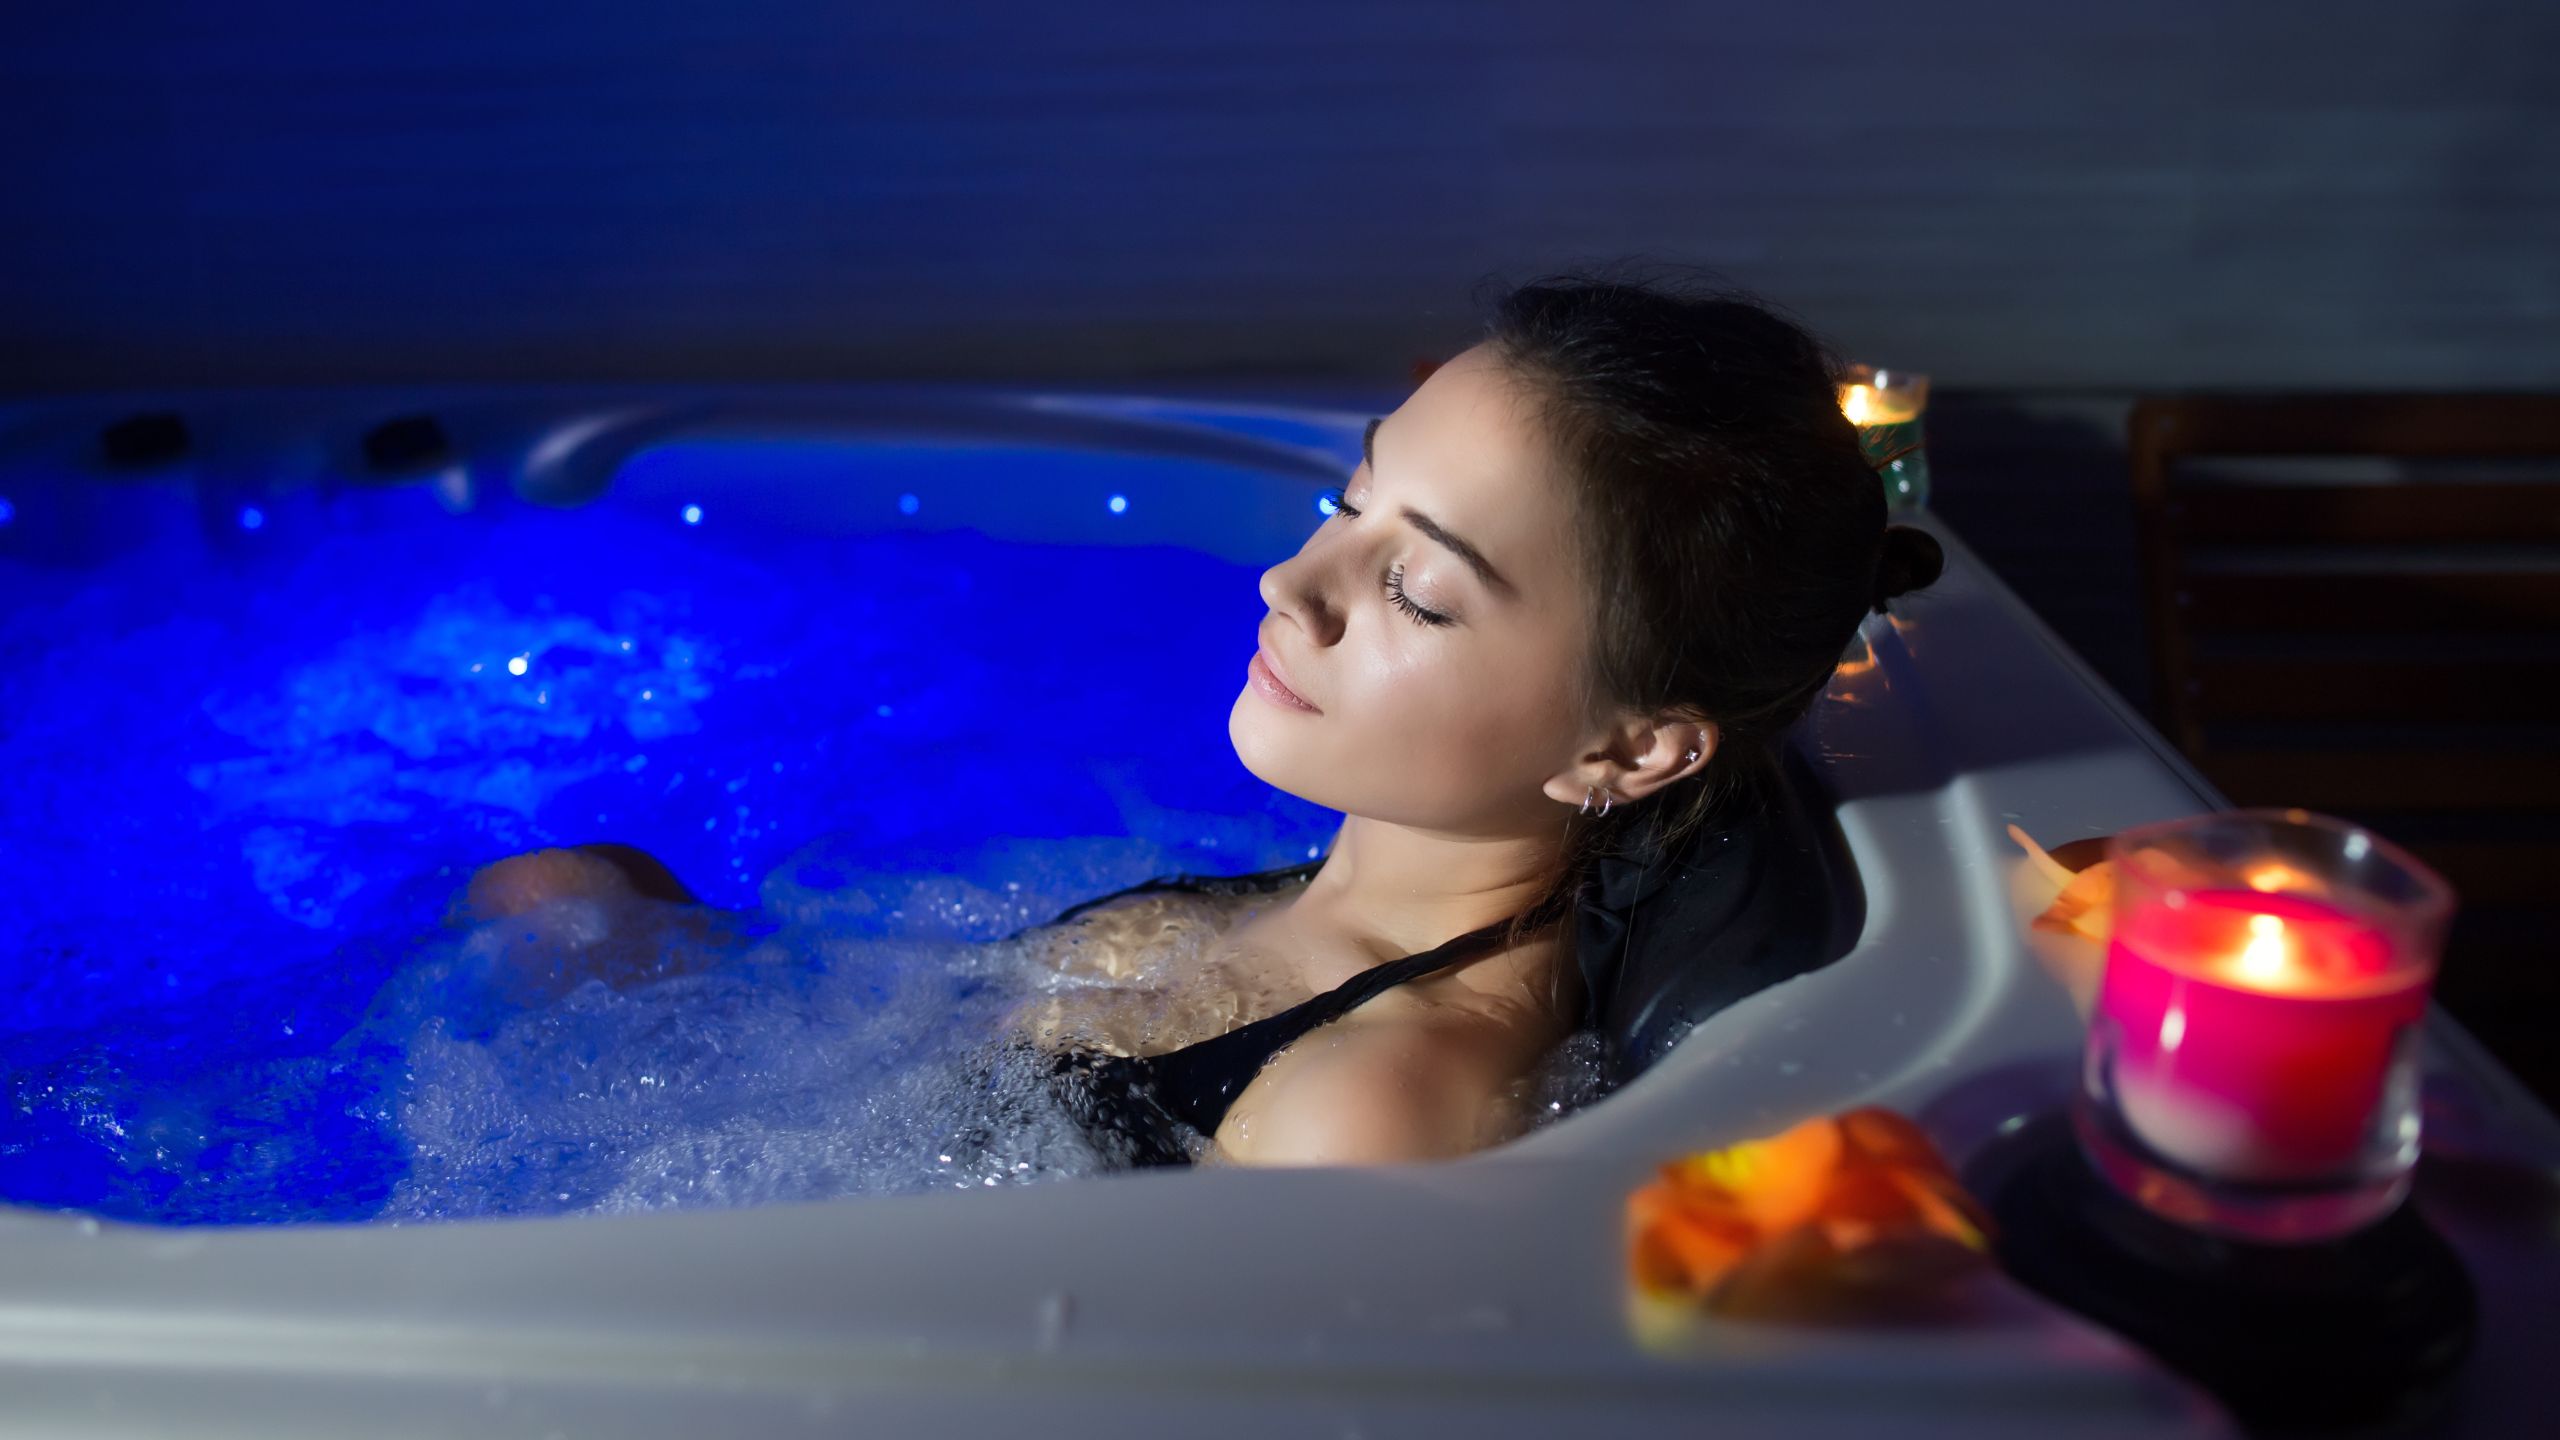
6 Best Square Inflatable Hot Tubs Review: Soak in Luxury at Home
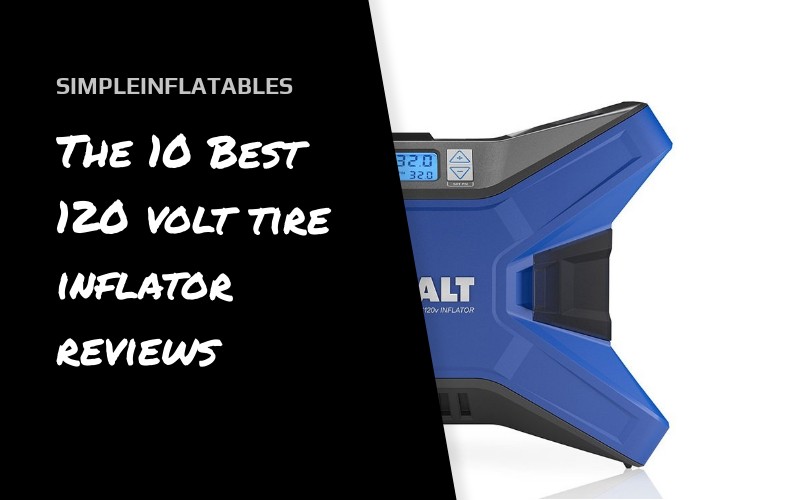
The 10 Best 120 volt tire inflator reviews
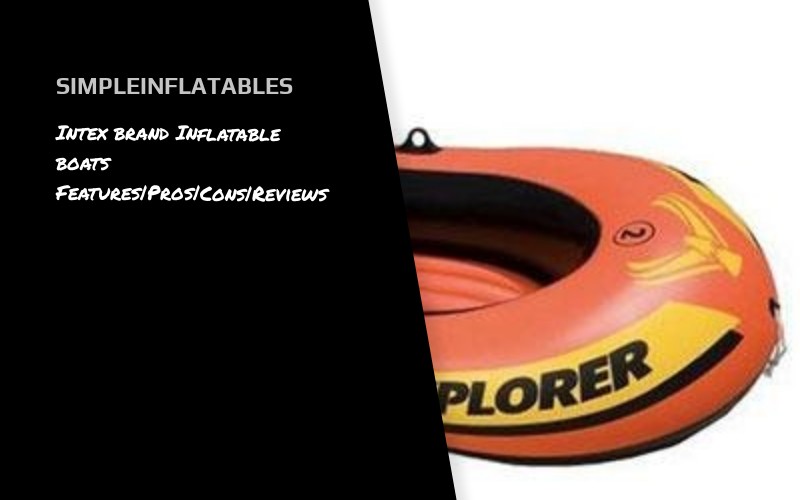
Intex brand Inflatable boats Features Pros Cons Reviews
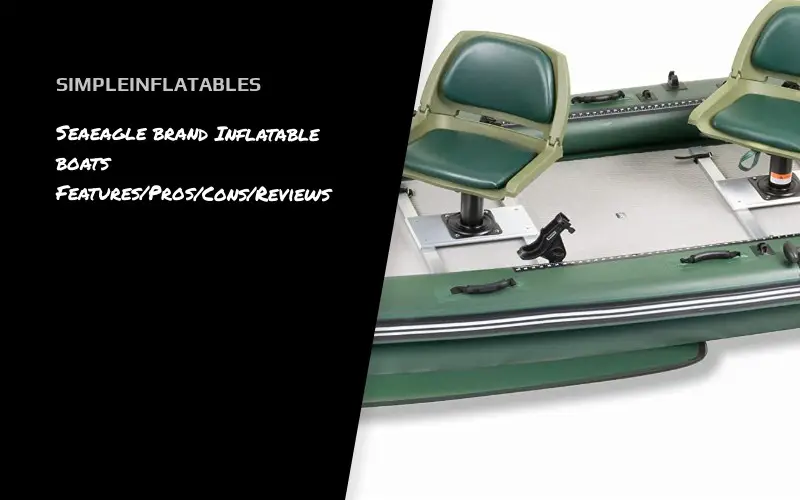
Seaeagle brand Inflatable boats Features/Pros/Cons/Reviews
Inflatable Blow Up Turkey: The Best 12 Inflatable Turkey only

Best christmas laser light projector outdoor

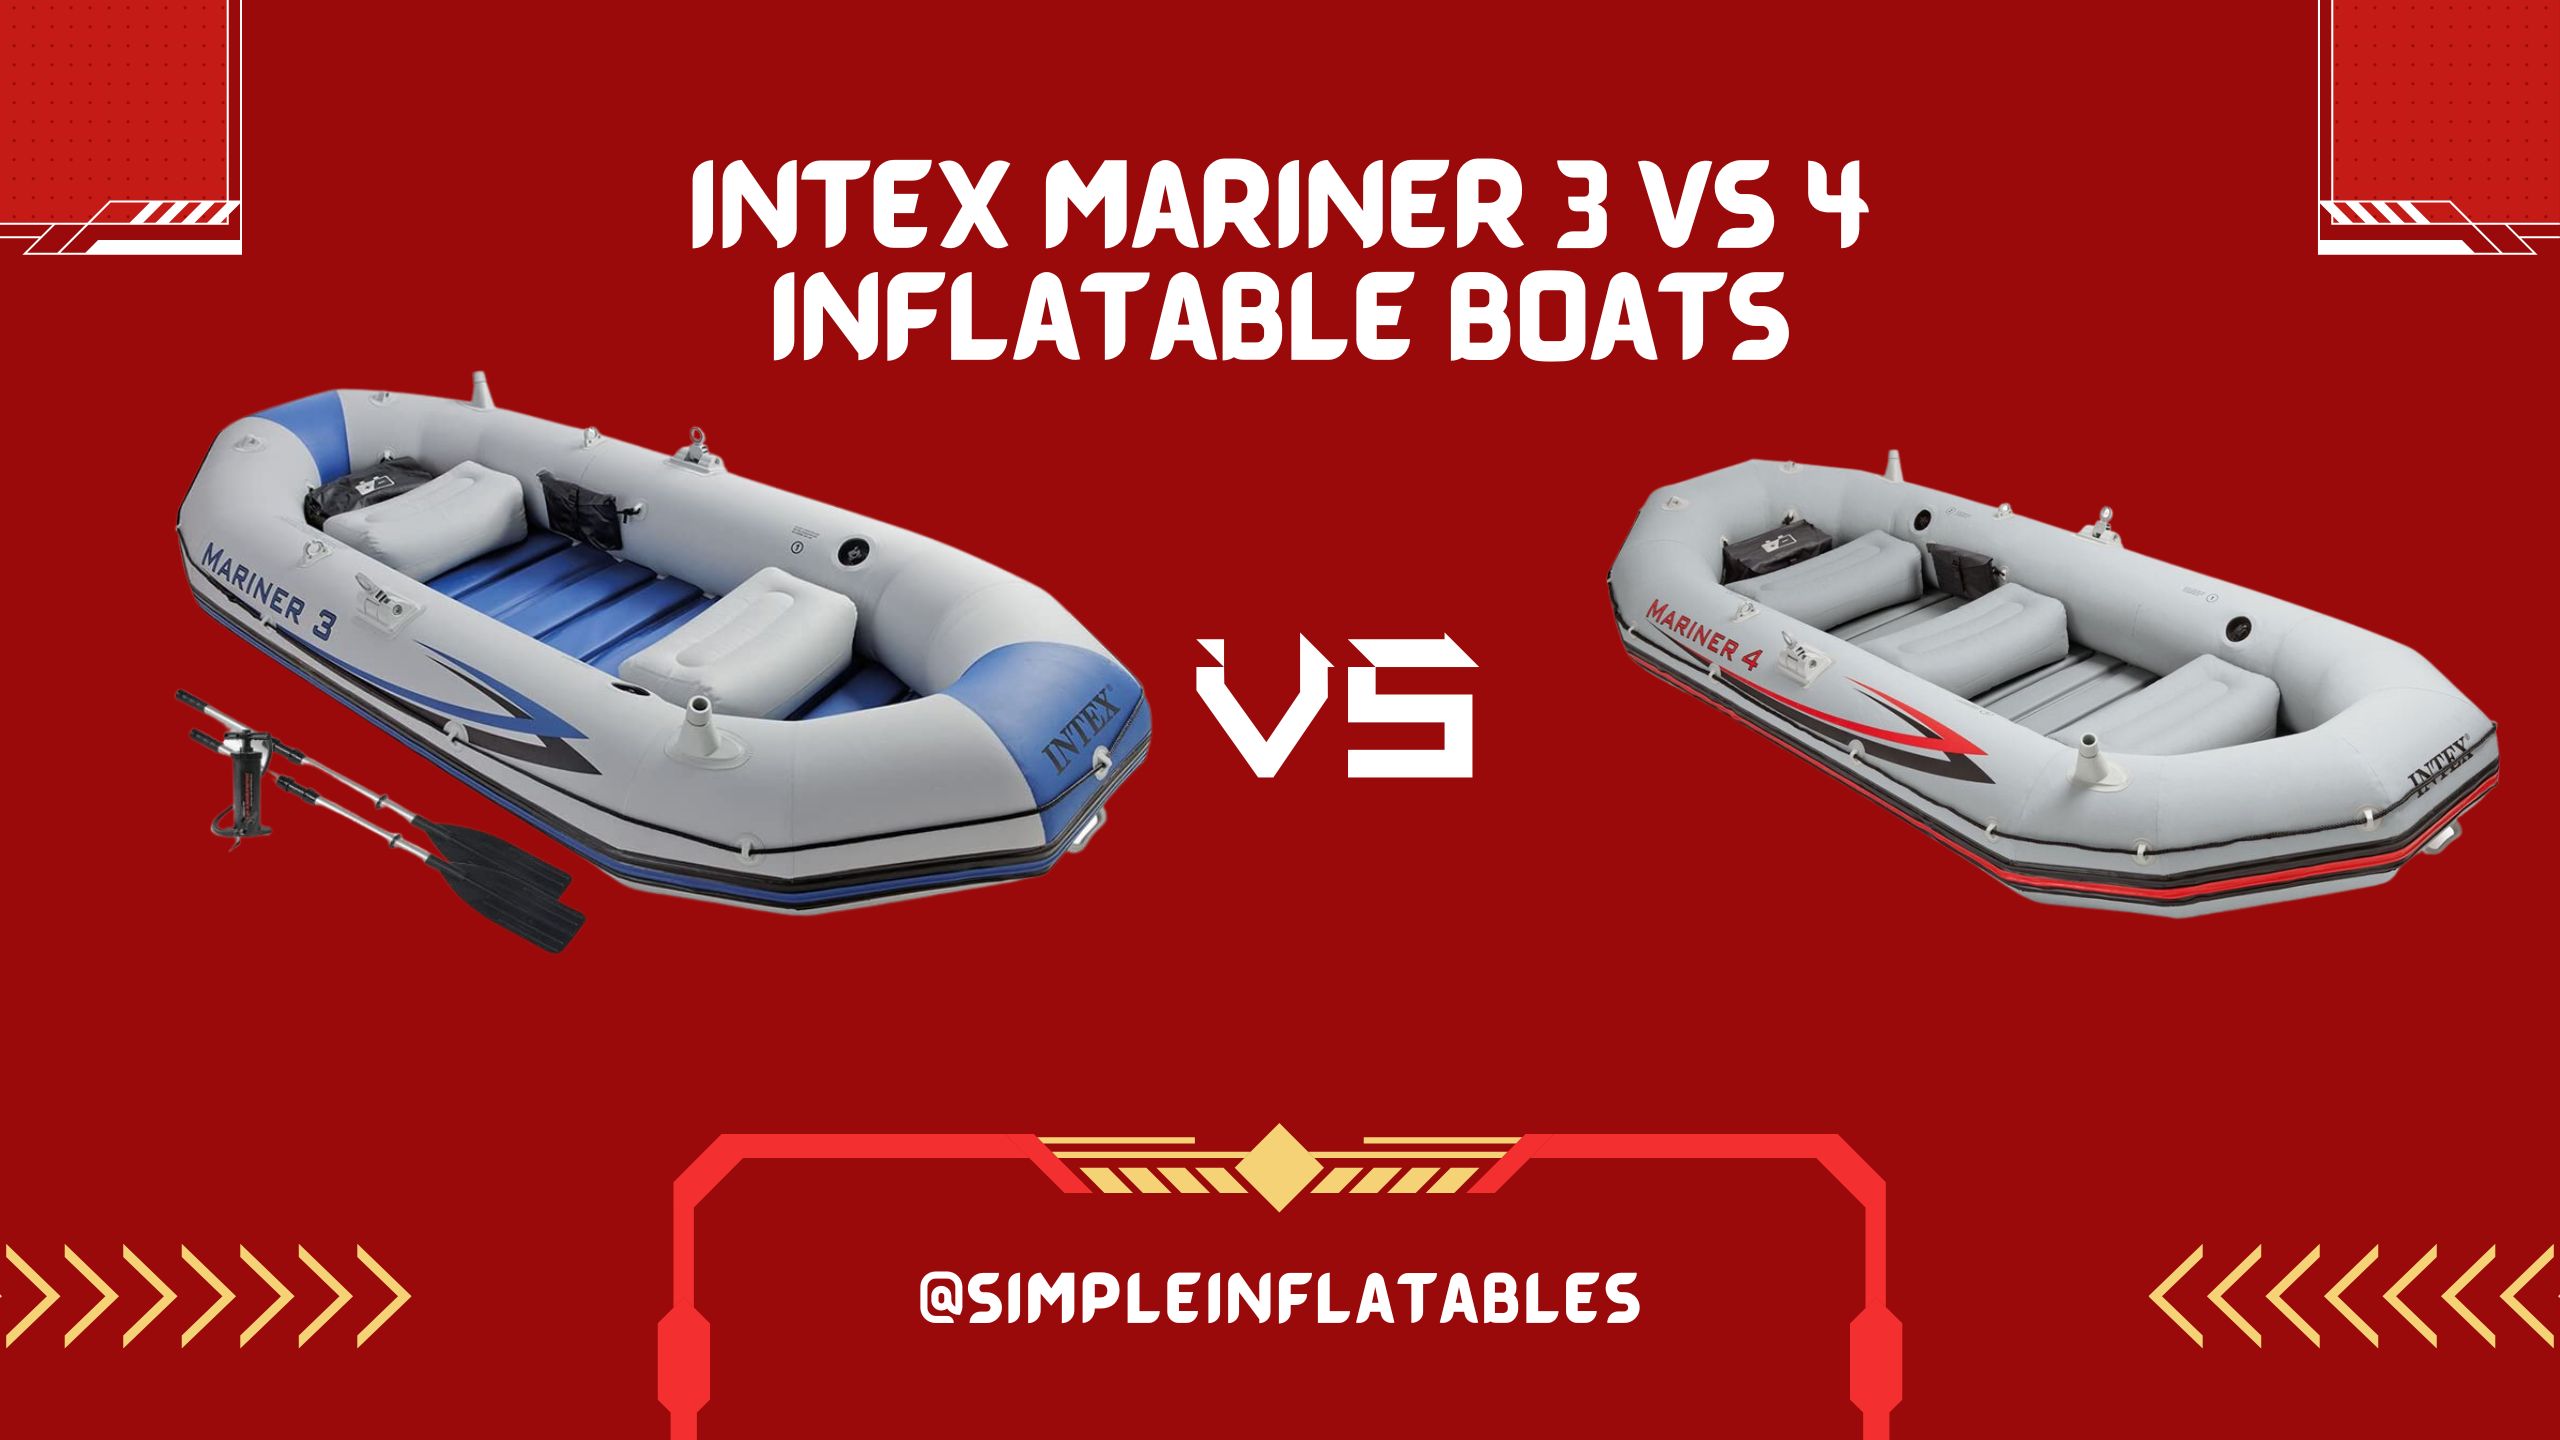
Intex Mariner 3 vs Intex Mariner 4: A Comprehensive Comparison and Review
The 10 Best Inflatable Hot Tub Accessories
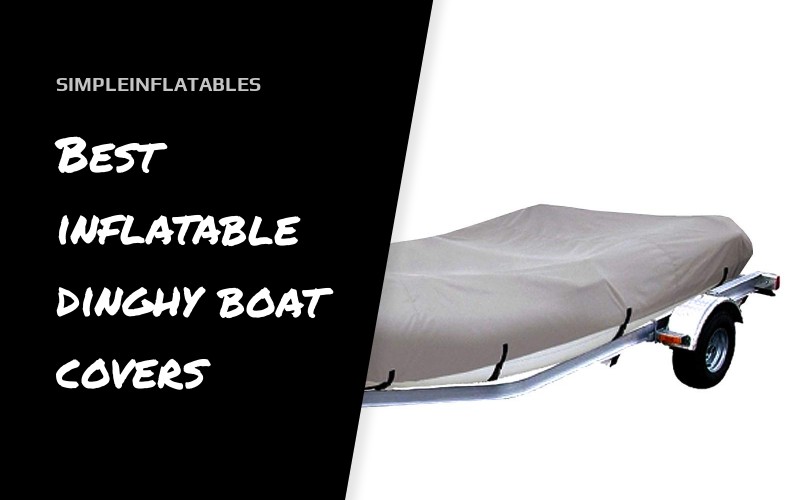
Best inflatable dinghy boat covers
Clean & Maintain Your Inflatable Hot Tub: Expert Tips
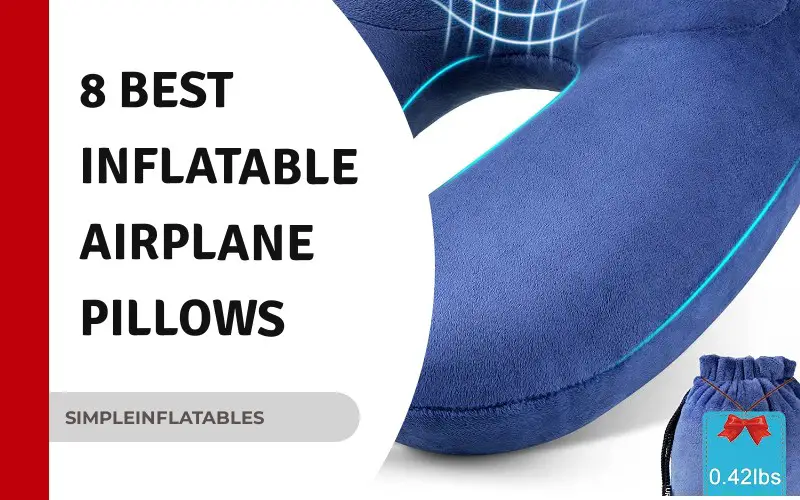
8 Best inflatable airplane pillows 2024 review
how to find air leak in an inflatable hot tub: The [Fastest Way]
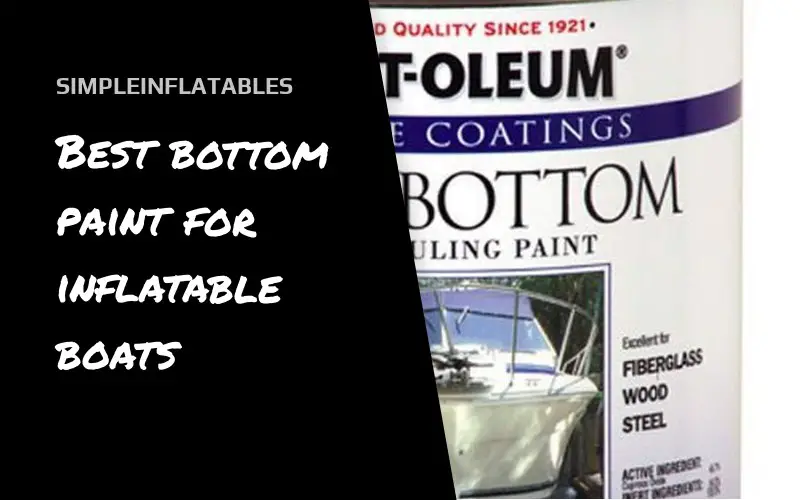
Best bottom paint for inflatable boats
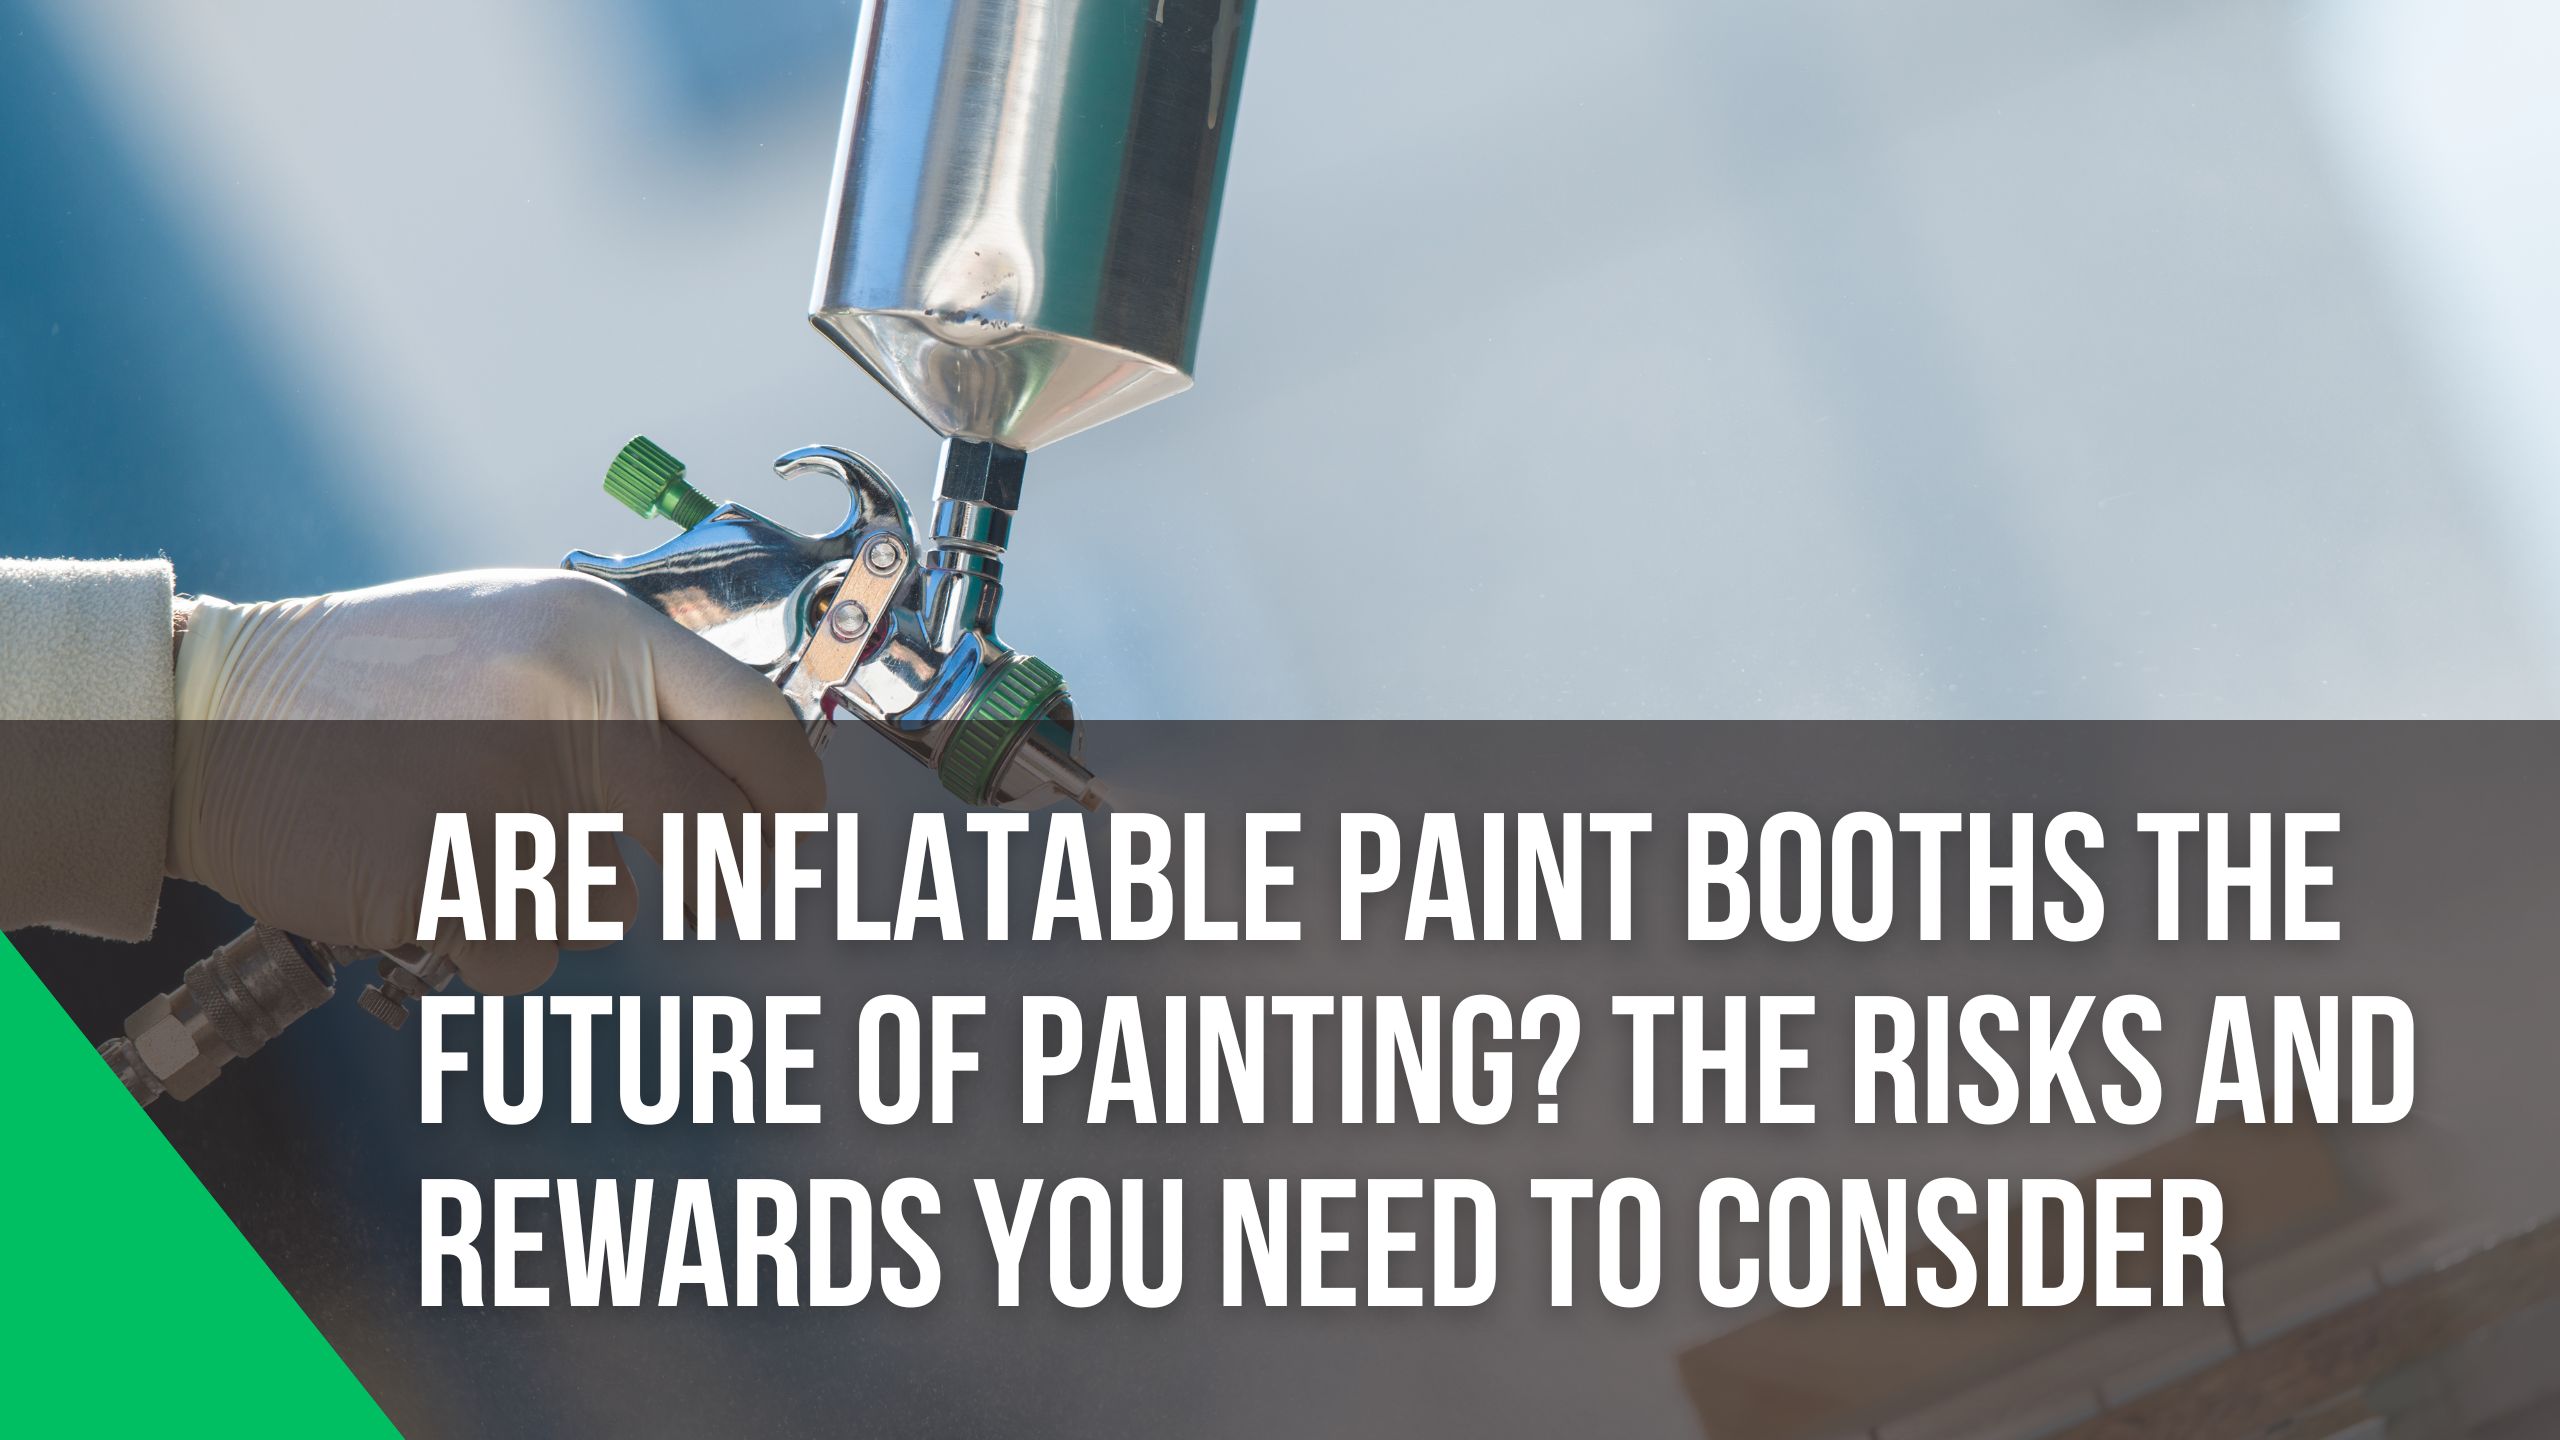
Pros and Cons of Inflatable paint booth
20 Major factors to consider before buying a pontoon boat

Inflatable Hot Tubs Hacks
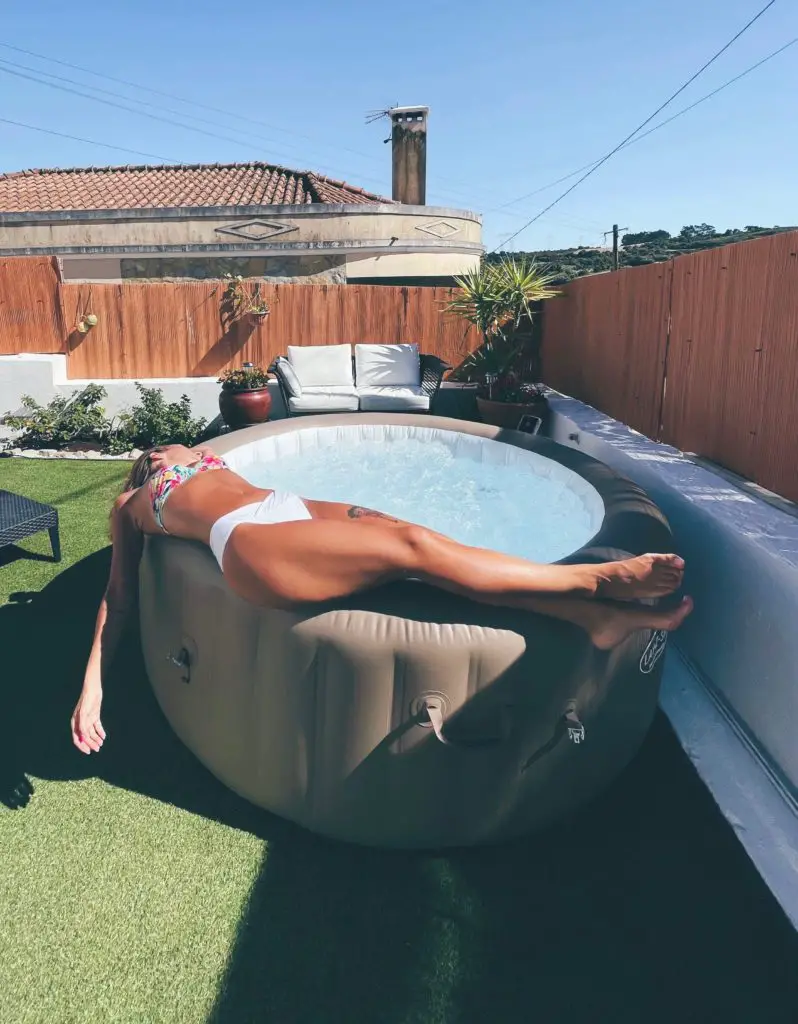
When you are trying to decide if an inflatable hot tub is the right investment for you and your family, it is important to look at both the pros and the cons. Here is a quick overview of the inflatable hot tub pros and cons to help you make your decision. Inflatable Hot Tub Pros:
Easy to set up and take down
– Can be used indoors or outdoors
– Inexpensive compared to traditional hot tubs.
– Portable so you can take it with you on vacations or to other homes Inflatable Hot Tub Cons:
– Not as durable as traditional hot tubs
– May not have all the features of a traditional hot tub
– Not as private since they are not enclosed
An inflatable hot tub can take time to heat up, here are some helpful advice on how to heat a hot tub faster

inflatable rafts for lakes
Inflatable rafts are a great way to enjoy a lazy day on the lake. They are easy to set up and take down, and you can bring all the amenities you need right on the raft with you. Here are some of the best inflatable rafts for lakes collections to help enjoy your time at the lakes
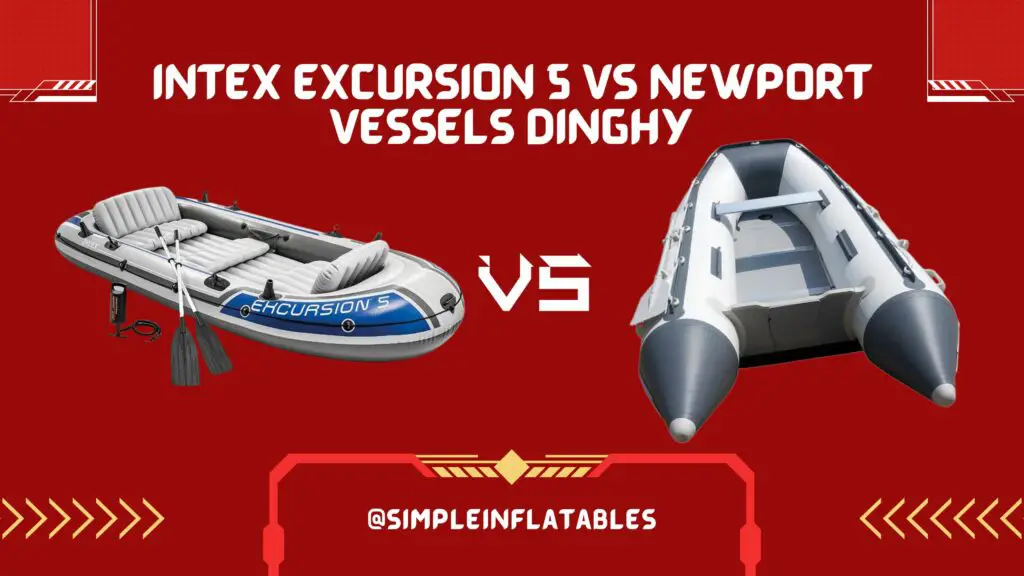
Intex Excursion 5 vs Newport Vessels Dinghy: The Best 2 inflatable boats
The best inflatable boats come in a variety of sizes, shapes, and materials. Whether you’re looking for a boat to take out on the lake or just something to use in your backyard pool, there are plenty of options available. Two of the most popular inflatable boats are the Intex Excursion 5 and the Newport Vessels Dinghy. Both offer great features at an affordable price, but which one is better?
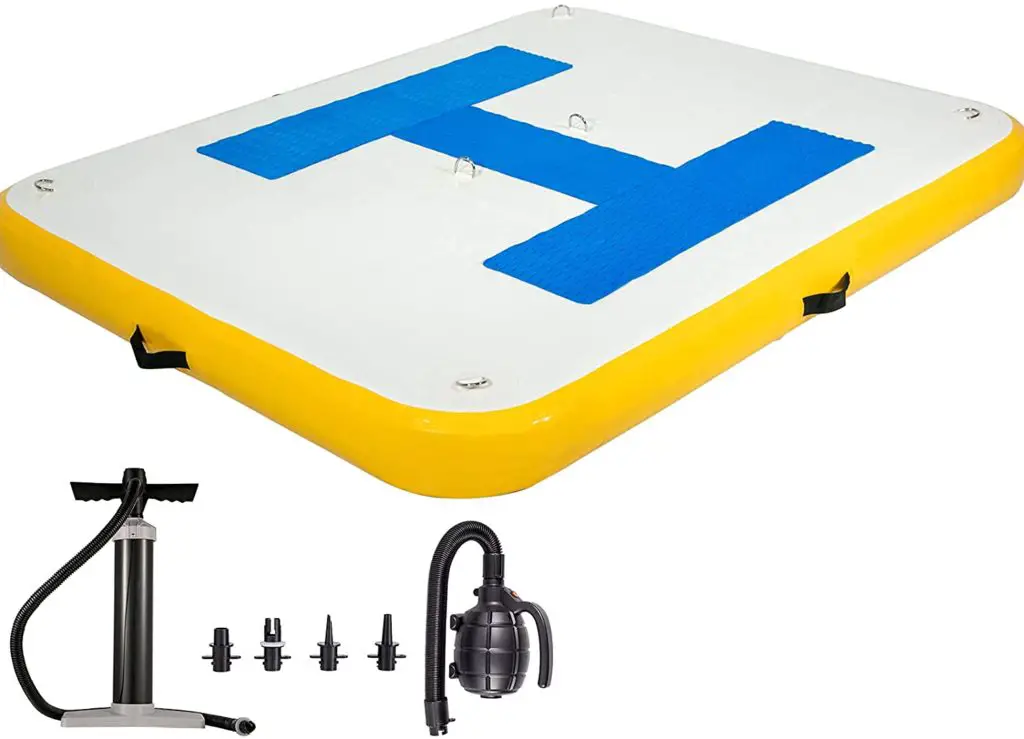
Best inflatable docks
Inflatable docks are a great way to enjoy your time on the water without worrying about traditional docks’ hassles. They are easy to set up and take down, and they offer a variety of features that make them ideal for various activities. Here are some of the best inflatable docks on the market
Revolutionize Your Paint Jobs with Inflatable Paint Booths 2024
Your One-Stop Shop for the best Inflatable Paint Booths! Discover the latest and greatest way to achieve a quality paint job with our Inflatable Paint Booths. These booths are convenient, cost-effective, and easy to use, perfect for spraying paint on cars, motorcycles, boats, and more. Learn how these innovative booths work, and ensure safety with our comprehensive guide. Check out our top pick for the Paint Booth for Cars, offering a dust-free and low-cost solution for automotive painting.
Explore the benefit and drawbacks of inflatable paint booth for your business and learn how to clean and maintain them. Stay informed about the legal aspects of using these booths in various industries. Unleash your creativity with 20 exciting ideas for using an Inflatable Spray Booth. Also, compare the Traditional Spray Booth with the Inflatable Spray Booth to make an informed choice. At Simpleinflatables, we offer innovative solutions for all your painting projects, making your experience convenient, safe, and cost-effective. Achieve flawless paint results with Simpleinflatables!
Best Of Inflatables
6 Best Square Inflatable Hot Tubs Review: Soak in Luxury at Home
The 10 Best 120 volt tire inflator reviews
Intex brand Inflatable boats Features Pros Cons Reviews
Seaeagle brand Inflatable boats Features/Pros/Cons/Reviews
Inflatable Blow Up Turkey: The Best 12 Inflatable Turkey only
Best christmas laser light projector outdoor
Intex Mariner 3 vs Intex Mariner 4: A Comprehensive Comparison and Review
The 10 Best Inflatable Hot Tub Accessories
Best inflatable dinghy boat covers
8 Best inflatable airplane pillows 2024 review
Best bottom paint for inflatable boats
Best Inflatable Pontoon Boats
Best Inflatable floating Dog Ramp, Dock
Best inflatable boats for dogs
Best inflatable bath